How to Build an Enterprise Admin Dashboard from Scratch: A Shadcn UI + Vite Practical Guide
A step-by-step tutorial on setting up a modern, production-ready admin system using Shadcn UI, Vite, and Tailwind CSS. Learn to configure tables, routing, and themes in under 30 minutes.
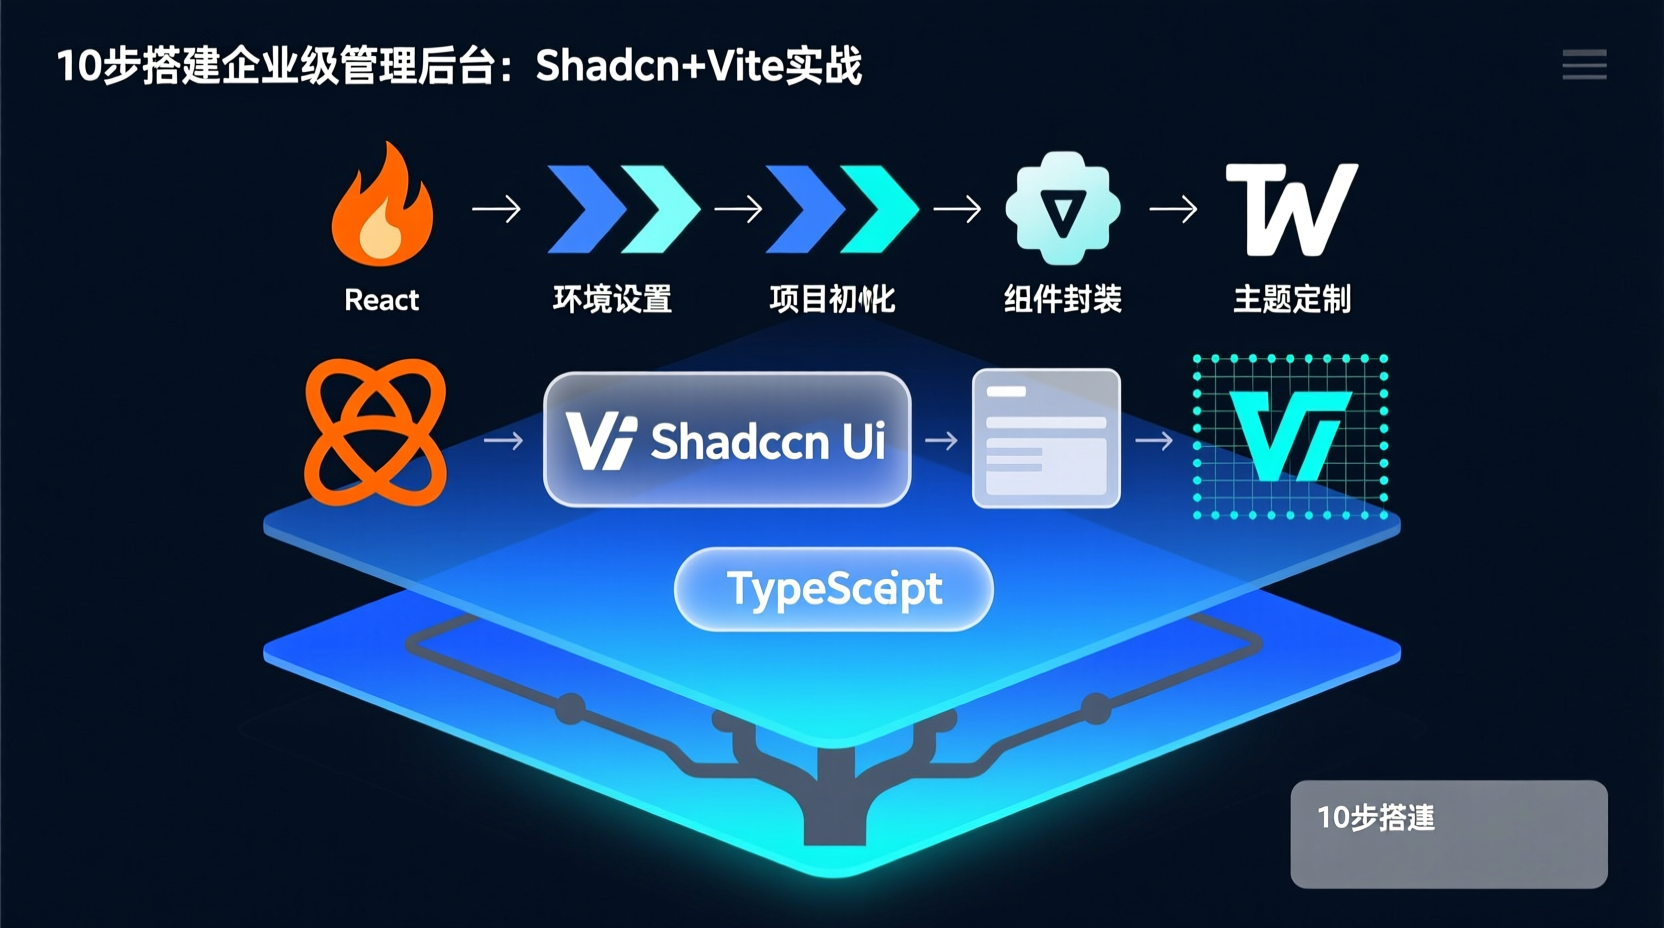
How to Build an Enterprise Admin Dashboard from Scratch: A Shadcn UI + Vite Practical Guide
As a backend developer, I'm often asked: "Can we quickly build an admin dashboard with tables, forms, and role-based access control?" Traditional solutions are either too heavy (like Ant Design Pro) or too fragmented (piecing together standalone components). In this guide, I'll share a streamlined approach using the 13.7k-star
shadcn-admintemplate, paired with Vite and Tailwind CSS. You can have a fully demo-ready admin system up and running in under 30 minutes.
Why Choose This Stack?
- Shadcn UI: A headless component library that you copy directly into your project, giving you 100% control over styling.
- Vite: Delivers instant hot module replacement (HMR), offering a developer experience that far surpasses Webpack.
- Tailwind CSS: Utility-first CSS that completely eliminates style conflicts and scope pollution.
Prerequisites
bash
node -v # Requires Node.js >= 18.0
npm install -g pnpm # pnpm is highly recommended for this project
Quick Start
1. Clone the Repository
bash
git clone https://github.com/satnaing/shadcn-admin.git
cd shadcn-admin
pnpm install
2. Launch the Development Server
bash
pnpm devOpen http://localhost:3000 to view the default dashboard. Pay attention to the dynamically configured sidebar navigation and the theme toggle button in the top-right corner.
3. Core Architecture Breakdown
plaintext
src/
├── components/     # Business components (Tables, Forms, Layouts)
├── lib/            # Utility functions & Axios wrappers
├── routes/         # React Router configuration
└── styles/         # Global Tailwind themes & configurations
Hands-On: Building a Custom User Management Module
Step 1: Add a Data Table Component
Create UserTable.tsx under src/components/users/:
tsx
import { Table, TableHeader, TableColumn, TableBody, TableRow, TableCell } from "@/components/ui/table";

const users = [
  { id: 1, name: "John Doe", email: "john@example.com" },
  // more data...
];

export function UserTable() {
  return (
    <Table>
      <TableHeader>
        <TableRow>
          <TableColumn>ID</TableColumn>
          <TableColumn>Name</TableColumn>
          <TableColumn>Email</TableColumn>
        </TableRow>
      </TableHeader>
      <TableBody>
        {users.map(u => (
          <TableRow key={u.id}>
            <TableCell>{u.id}</TableCell>
            <TableCell>{u.name}</TableCell>
            <TableCell>{u.email}</TableCell>
          </TableRow>
        ))}
      </TableBody>
    </Table>
  );
}
Step 2: Configure Routing
Update src/routes/index.tsx:
tsx
import { createBrowserRouter } from 'react-router-dom';
import { UserTable } from '@/components/users/UserTable';

export const router = createBrowserRouter([
  {
    path: '/users',
    element: <UserTable />
  }
]);
Troubleshooting & FAQs
- Port Conflict: Modify the
"dev"script inpackage.jsonto append--port 3001. - Tailwind Styles Not Applying: Verify that the
contentarray intailwind.config.jsincludes your component file paths. - Theme Toggle Not Working: Ensure the
<ThemeProvider>wraps the root application entry component.
Next Steps
- Experiment with adding Form components to implement user editing functionality.
- Consider replacing the default state management with Zustand for better scalability.
- Integrate with MockAPI to test a complete CRUD workflow.
At its core, an admin dashboard is about "information architecture + interaction patterns." Once you master Shadcn UI's component assembly logic, you can freely adapt it to any business requirement. If you encounter specific issues, feel free to drop your error logs in the comments, and I'll respond promptly.