How to Build a SaaS Boilerplate with Auth & Subscriptions in 30 Minutes Using Wave
A practical guide to setting up a fully functional SaaS application using the Wave Laravel starter kit. Learn how to configure the environment, add a custom dashboard, and integrate Stripe for test payments in under 30 minutes.
How to Build a SaaS Boilerplate with Auth & Subscriptions in 30 Minutes Using Wave
Introduction: Have You Ever Faced This?
Last week, a friend of mine who's an indie developer mentioned that he spent over a month writing his core business logic, only to realize that "infrastructure" features like user authentication, subscription billing, and admin dashboards took up nearly half his time. To make matters worse, his payment integration kept failing intermittently due to Stripe webhook issues.
This scenario is incredibly common. The hardest part of building a SaaS isn't writing the core features—it's building all the modules that every SaaS needs from scratch.
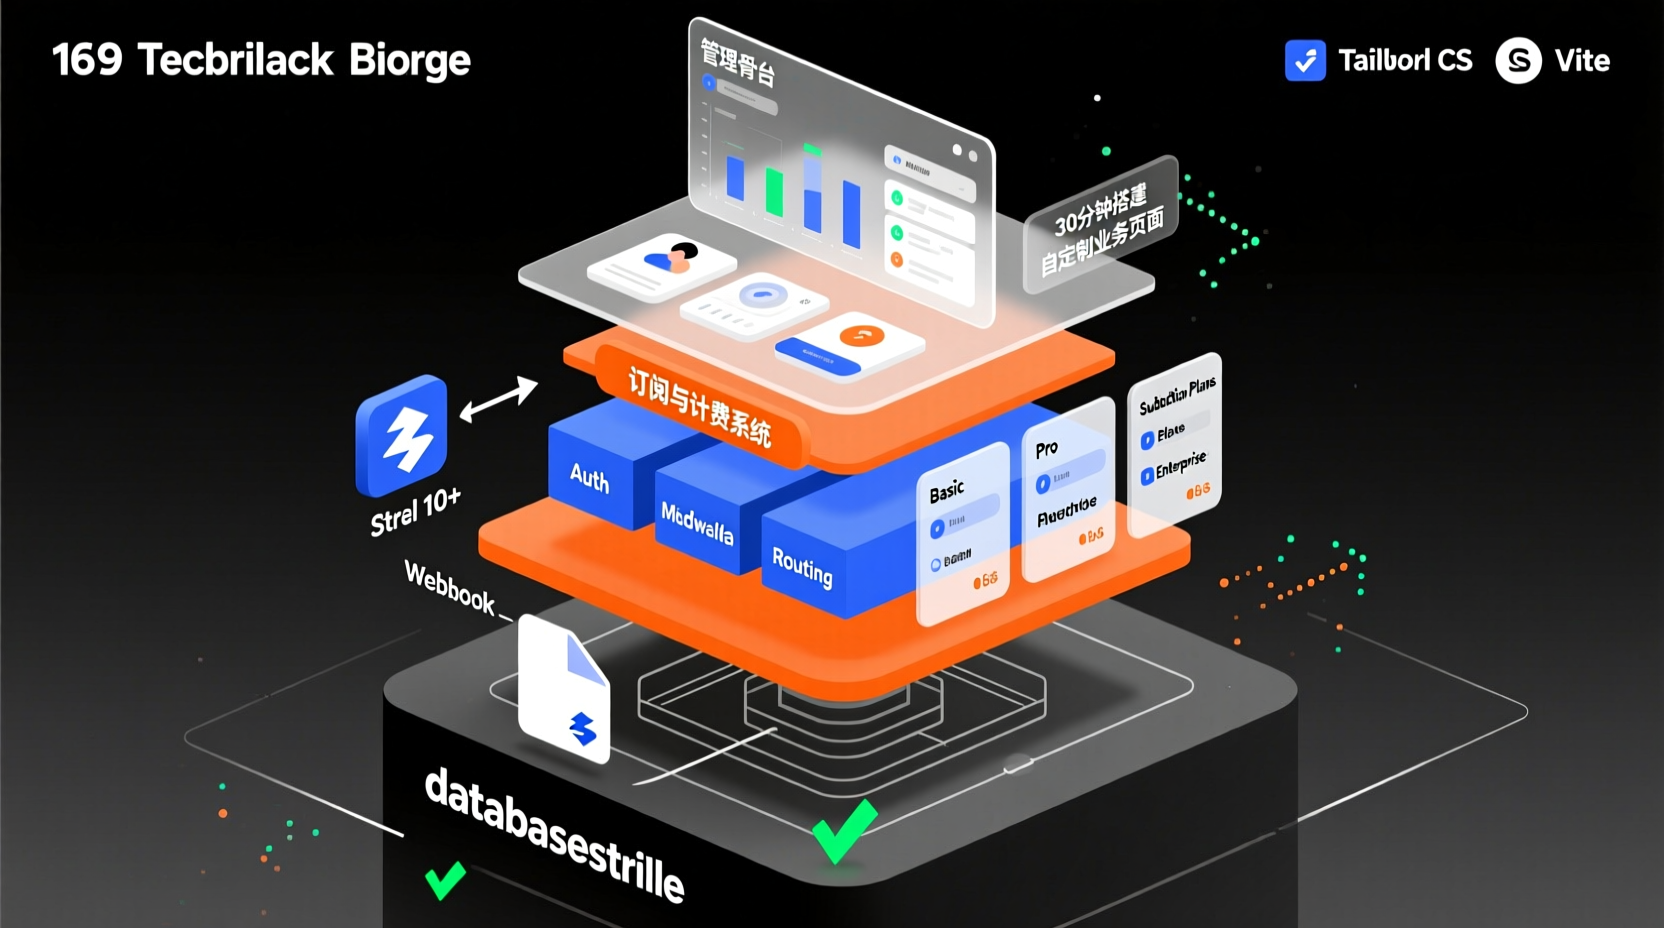
Today, I'll show you how to use Wave—a Laravel-based SaaS Starter Kit—to spin up a fully functional SaaS skeleton in under 30 minutes. It comes pre-packaged with user authentication, subscription billing, role management, a blog system, and an admin panel. Features that would normally take two weeks to build. After this guide, you'll save massive amounts of time and focus entirely on your core product.
Prerequisites
Before we begin, ensure your environment meets the following requirements:
- PHP >= 8.1 (Wave runs on Laravel 10+, which requires PHP 8.1+)
- Composer (PHP package manager)
- MySQL or SQLite (SQLite is highly recommended for rapid local prototyping)
- Node.js & NPM (For compiling frontend assets, as Wave uses Tailwind CSS)
- Basic Laravel knowledge (Familiarity with Artisan commands, routing, and Blade templates is sufficient)
Pro Tip for macOS users: Consider installing Laravel Herd. It sets up PHP, Nginx, and your database with one click. You can even spin up Wave instantly using herd new --starter-kit=devdojo/wave.
Quick Start: Getting Wave Running Step-by-Step
Step 1: Create the Project
Open your terminal and run:
bash
composer create-project devdojo/wave my-saas-app
cd my-saas-app
This pulls down all of Wave's dependencies, including the Laravel framework itself and Wave's SaaS modules. Once Composer finishes, you'll see a standard Laravel directory structure, but with additional wave/ configuration and view files.
Why use Composer? Wave is fundamentally a Laravel starter kit. Installing via Composer guarantees consistent dependency versions and prevents the merge conflicts that often happen when manually cloning a repository.
Step 2: Configure Environment Variables
bash
cp .env.example .env
php artisan key:generate
Open the .env file and configure your database connection. For local development, I highly recommend SQLite for zero-config simplicity:
env
DB_CONNECTION=sqlite
## Comment out or remove other DB_ prefixed lines
Then, create the SQLite database file:
bash
touch database/database.sqliteStep 3: Run Migrations & Seed Data
bash
php artisan migrate --seedThis command creates all necessary database tables (users, subscription plans, roles, permissions, etc.) and populates them with initial data, such as default subscription tiers (Free, Pro). Wave handles the base schema for you, so you don't need to write custom migrations just to get started.
Step 4: Start the Development Server
bash
php artisan serveVisit http://localhost:8000 in your browser, and you should see Wave's default landing page. Click the Register button in the top-right corner to test the sign-up flow.
At this point, you have a running SaaS application with registration and login capabilities. Total time elapsed: less than 5 minutes.
Practical Examples: Adding Custom Pages & Setting Up Stripe Test Mode
Getting it running is just the beginning. Let's dive into two hands-on exercises: creating a custom business dashboard and switching the payment environment to Stripe's test mode.
Exercise 1: Creating Your SaaS Dashboard Page
Let's say you're building an "AI Writing Assistant" SaaS and need a user dashboard after login. Create a controller and route:
bash
php artisan make:controller DashboardControllerEdit app/Http/Controllers/DashboardController.php:
php
<?php
namespace App\Http\Controllers;

use Illuminate\Http\Request;

class DashboardController extends Controller
{
    public function index()
    {
        // Wave's auth middleware handles redirects automatically if the user isn't logged in
        $user = auth()->user();
        $plan = $user->plan()->first();

        return view('wave::dashboard', [
            'user' => $user,
            'plan' => $plan,
            'usage' => $this->getUsage($user),
        ]);
    }

    private function getUsage($user)
    {
        // Return your business-specific metrics here, e.g., API call counts
        return [
            'words_generated' => 1250,
            'api_calls' => 48,
        ];
    }
}
Add the route in routes/web.php:
php
Route::middleware(['auth'])->group(function () {
    Route::get('/dashboard', [App\Http\Controllers\DashboardController::class, 'index'])
         ->name('dashboard');
});
Create the view file at resources/views/vendor/wave/dashboard.blade.php, leveraging Wave's Blade component layout:
blade
@extends('wave::app')

@section('content')
<div class="max-w-4xl mx-auto py-8">
    <h1 class="text-2xl font-bold mb-4">Welcome back, {{ $user->name }}!</h1>
    <div class="bg-white rounded-lg shadow p-6">
        <p>Current Plan: {{ $plan->name ?? 'Free' }}</p>
        <div class="mt-4 grid grid-cols-2 gap-4">
            <div class="p-4 bg-gray-50 rounded">
                <p class="text-sm text-gray-500">Words Generated</p>
                <p class="text-xl font-bold">{{ number_format($usage['words_generated']) }}</p>
            </div>
            <div class="p-4 bg-gray-50 rounded">
                <p class="text-sm text-gray-500">API Calls</p>
                <p class="text-xl font-bold">{{ $usage['api_calls'] }}</p>
            </div>
        </div>
    </div>
</div>
@endsection
Why use the wave:: namespace? Wave's views are registered under the wave:: prefix. By publishing vendor views, you can copy the default templates into resources/views/vendor/wave/ and customize them safely. This ensures your overrides aren't overwritten during future Wave upgrades.
Exercise 2: Configuring Stripe Test Payments
Wave natively supports Stripe and Paddle. Always use test mode during development:
- Create a Stripe account and navigate to Dashboard → Developers → API Keys.
- Copy the
Publishable keyandSecret key(Test keys start withpk_test_andsk_test_). - Update your
.envfile:
env
STRIPE_KEY=pk_test_xxxxxxxxxxxxxxxx
STRIPE_SECRET=sk_test_xxxxxxxxxxxxxxxx
BILLING_PROVIDER=stripe
Wave's billing module automatically reads these variables. Creating subscription plans is straightforward. You can add them via the Wave admin panel (/admin → Billing → Plans) or via Tinker:
php
php artisan tinker

>>> \Wave\Plan::create([
...     'name' => 'Pro',
...     'price' => 19.99,
...     'interval' => 'month',
...     'features' => json_encode(['Unlimited Writing', 'API Access', 'Priority Support']),
... ]);
Refresh the homepage and click Pricing to see your Pro plan. Clicking Subscribe will redirect you to the Stripe Checkout test page. Use Stripe's test card number 4242 4242 4242 4242 to complete the payment flow.
Troubleshooting & Common Pitfalls
- Missing Frontend Styles? Run
npm install && npm run devto compile Tailwind and Vite. If styles still look broken, verify thatvite.config.jscorrectly points the entry toresources/css/app.css. - Stripe Webhooks Not Receiving Locally? Use the Stripe CLI for local forwarding during development:
stripe listen --forward-to localhost:8000/webhook/stripe. In production, configure the real webhook URL and verify signature security. - Views Overwritten After Upgrading Wave? If you customized Blade templates, make sure you copied them from
vendor/devdojo/wave/resources/viewstoresources/views/vendor/wave/before editing. Never modify files directly in thevendor/directory, ascomposer updatewill wipe them out. - SQLite Foreign Key Errors During Migration? Add
DB_FOREIGN_KEYS=trueto your.envfile, and ensure yourconfig/database.phpSQLite configuration includes'foreign_key_constraints' => env('DB_FOREIGN_KEYS', true).
Summary & Next Steps
In just a few minutes, we installed and launched Wave, built a custom user dashboard, and integrated Stripe test payments. You now hold a fully functional SaaS skeleton capable of user registration, authentication, and paid subscriptions.
Recommended Next Steps:
- Integrate your core business logic (e.g., OpenAI API calls, document processing)
- Explore Wave's plugin system to extend functionality cleanly, rather than modifying core files
- Set up a mail queue to asynchronously send subscription success/failure notifications
- Migrate from SQLite to a production-grade MySQL/PostgreSQL database and deploy to a VPS or PaaS
Wave saves you from reinventing the wheel, but it doesn't replace your business logic. For indie developers, the time saved on boilerplate is the exact time you should spend polishing your product.
Have questions? Drop them in the comments below, and I'll reply to each one.