How to Run Local LLM Inference with .NET and TensorSharp: A 15-Minute Guide
A step-by-step tutorial on deploying a local LLM inference service using TensorSharp, a native .NET engine. Learn to download GGUF models, configure cross-platform GPU backends, and expose an OpenAI-compatible API for seamless integration into existing .NET applications.
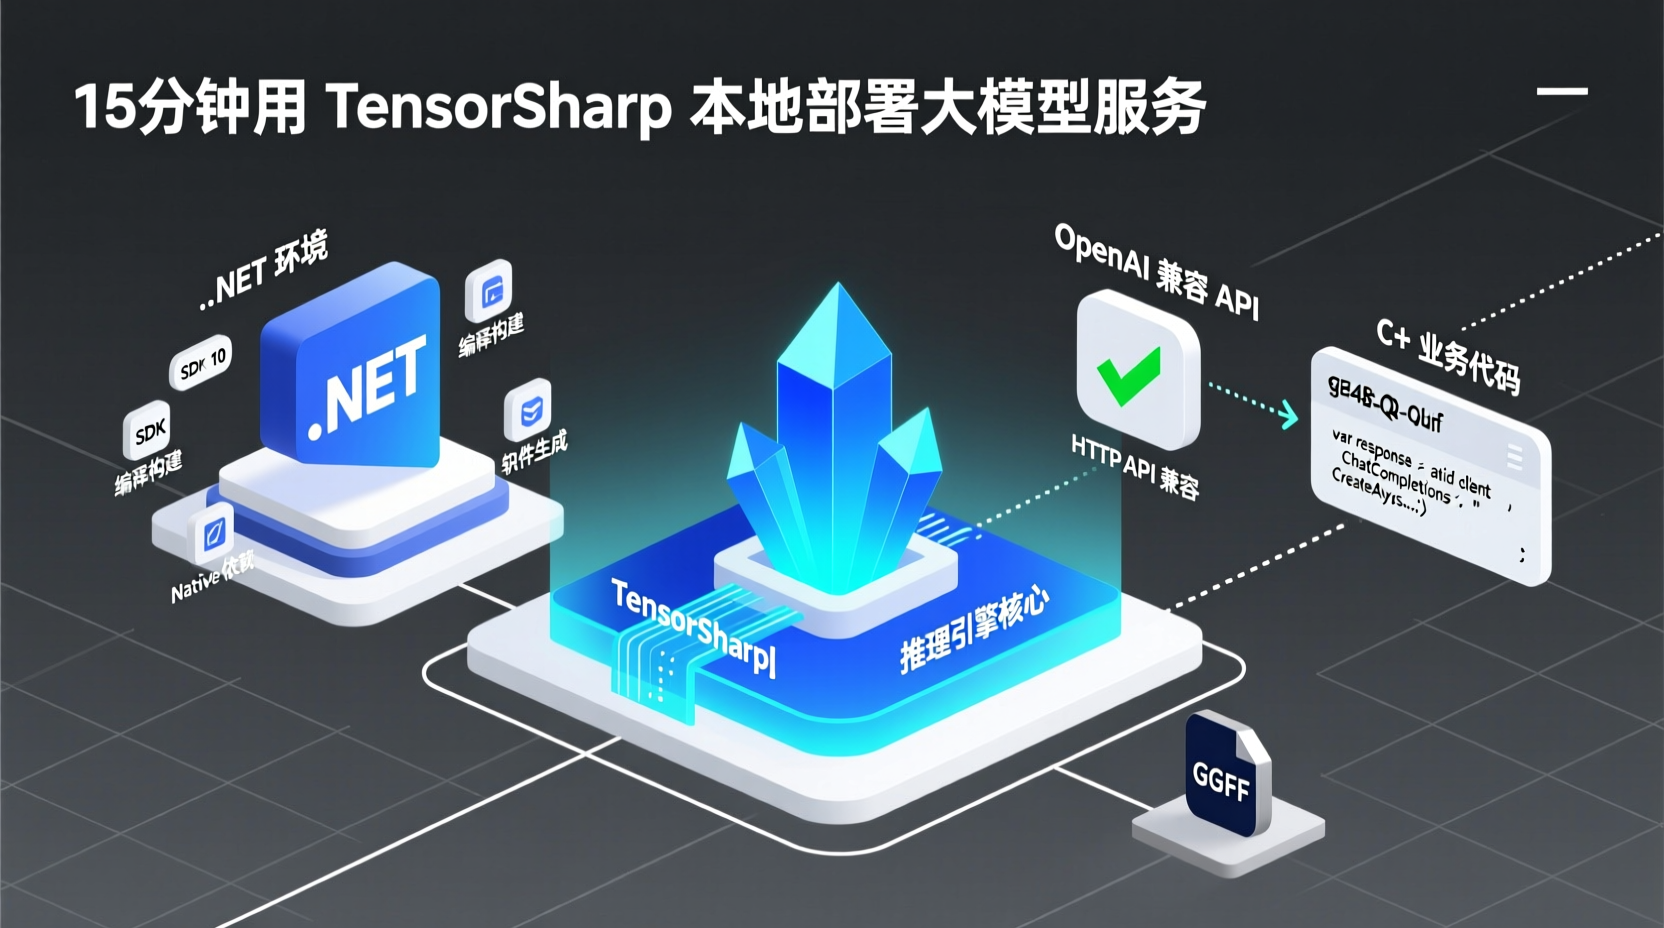
How to Run Local LLM Inference with .NET and TensorSharp: A 15-Minute Guide
As backend developers, we often face a common dilemma: management wants AI capabilities in our products, but routing requests to external APIs brings concerns about data privacy compliance, API costs, and network latency. Building your own model service usually feels cumbersome because integrating the Python AI ecosystem into an existing .NET tech stack is notoriously tricky.
Today, I'll guide you through deploying a local LLM inference engine using TensorSharp, a pure .NET implementation. In just 15 minutes, we'll cover everything from environment setup to API integration. By the end of this tutorial, you'll have a locally running LLM service with an OpenAI-compatible API endpoint on your Windows, Mac, or Linux machine. You can drop it directly into your existing codebase without writing a single line of Python.
Prerequisites
Before we begin, make sure you have the following ready:
- .NET 10 SDK (Note: SDK required, not just the Runtime, as TensorSharp needs to build native components from source)
- A GPU (Recommended): NVIDIA, AMD, or Intel GPUs are supported via respective backends. You can run in pure CPU mode, but inference will be slower.
- Disk Space: Reserve 8–10 GB for downloading a GGUF model file.
If you haven't installed the .NET 10 SDK yet, open your terminal and run:
bash
dotnet --list-sdksIf the output doesn't list a 10.0.x SDK, head to the official .NET website to download and install it. Windows users can install it instantly via winget install Microsoft.DotNet.SDK.10.
Step 1: Clone the Repository & Download the Model
Since TensorSharp runs from source, start by pulling the repository:
bash
git clone https://github.com/zhongkaifu/TensorSharp.git
cd TensorSharp
mkdir models
Next, download a model. I recommend Gemma 4 E4B, a lightweight multimodal model open-sourced by Google. The Q8_0 quantized version is around 7.5 GB, making it a great fit for most consumer-grade GPUs:
bash
curl -L --fail "https://huggingface.co/ggml-org/gemma-4-E4B-it-GGUF/resolve/main/gemma-4-E4B-it-Q8_0.gguf?download=true" -o models/gemma-4-E4B-it-Q8_0.ggufIf the download is slow, feel free to use a Hugging Face mirror. Once downloaded, ensure the file is placed in the models/ directory.
Step 2: Verify Your Environment via CLI
Before launching the web server, it's highly recommended to run a quick CLI test to verify that your GPU and model are working correctly. This makes troubleshooting much easier.
Choose the backend based on your hardware:
| Your Hardware | Backend Parameter | Additional Environment Variable |
|---|---|---|
| NVIDIA GPU | --backend ggml_cuda |
TENSORSHARP_GGML_NATIVE_ENABLE_CUDA=ON |
| AMD/Intel GPU | --backend ggml_vulkan |
TENSORSHARP_GGML_NATIVE_ENABLE_VULKAN=ON |
| Apple Silicon Mac | --backend ggml_metal |
None required |
| CPU Only | --backend cpu |
None required |
Here's an example for Windows + NVIDIA (PowerShell):
powershell
## Create a prompt file
echo "Explain what TensorSharp is in one sentence" > prompt.txt

## Set environment variable and run
$env:TENSORSHARP_GGML_NATIVE_ENABLE_CUDA = 'ON'
dotnet run --project TensorSharp.Cli -c Release -p:TensorSharpSkipMlxNative=true -- --model models\gemma-4-E4B-it-Q8_0.gguf --input prompt.txt --max-tokens 128 --backend ggml_cuda
If you see the model loading and generating text output, everything is working perfectly. Note that the first run will compile native components, so a 1-2 minute wait is completely normal.
Step 3: Start the Web Server & Get the OpenAI-Compatible API
Once the CLI test passes, we can launch the Server. This is the core goal of this tutorial: exposing an HTTP API you can call programmatically.
bash
## Linux/Mac users: replace backslashes with forward slashes
$env:TENSORSHARP_GGML_NATIVE_ENABLE_CUDA = 'ON'
dotnet run --project TensorSharp.Server -c Release -p:TensorSharpSkipMlxNative=true -- --model models/gemma-4-E4B-it-Q8_0.gguf --backend ggml_cuda --max-tokens 512
After startup, the service listens on 0.0.0.0:5000 by default. You can:
- Open your browser and visit
http://localhost:5000/index.htmlto access the built-in web chat interface. - Call the OpenAI-compatible API from your code.
Practical Example: Calling the Local Model in Business Code
Suppose your .NET application needs AI capabilities. Now, you don't need to modify any existing integration logic—just point your BaseAddress to http://localhost:5000. The following example demonstrates how to call the local model using HttpClient:
csharp
using System.Net.Http.Json;
using System.Text.Json;

var client = new HttpClient { BaseAddress = new Uri("http://localhost:5000") };

var requestBody = new
{
    model = "gemma-4-E4B-it",
    messages = new[]
    {
        new { role = "system", content = "You are a professional technical assistant." },
        new { role = "user", content = "Briefly explain what Tensor Parallelism is." }
    },
    max_tokens = 256,
    temperature = 0.7
};

var response = await client.PostAsJsonAsync("/v1/chat/completions", requestBody);
var result = await response.Content.ReadFromJsonAsync<JsonElement>();

var reply = result.GetProperty("choices")[0].GetProperty("message").GetProperty("content").GetString();
Console.WriteLine(reply);
This code is fundamentally identical to calling OpenAI's official API—the request format and response structure match exactly. You could literally swap https://api.openai.com with the local address and change zero lines of business logic.
For a quick test using curl:
bash
curl http://localhost:5000/v1/chat/completions \
  -H "Content-Type: application/json" \
  -d '{
    "model": "gemma-4-E4B-it",
    "messages": [{"role": "user", "content": "What is TensorSharp?"}],
    "max_tokens": 128
  }'
Common Pitfalls & Troubleshooting
- Compilation Errors: Ensure you installed the .NET 10 SDK, not just the Runtime. Verify with
dotnet --list-sdks(look for10.0.x). - Slow Model Loading: The first load requires building the KV Cache and other data structures. Please wait a few minutes patiently. Subsequent conversations will be significantly faster.
- GPU Not Recognized: Verify your graphics drivers and CUDA/Vulkan runtimes are installed. NVIDIA users can run
nvidia-smiin the terminal. You can also test with--backend cpufirst to rule out model file issues. - Security Warning for
0.0.0.0Binding: TensorSharp Server has no built-in authentication or HTTPS. If exposing it beyond localhost, always place it behind an Nginx reverse proxy and configure proper authentication. - Model Selection: If your VRAM is under 8 GB, try the
Q4_K_Mquantized version (~half the size). If you have ample VRAM and prioritize quality, stick withQ8_0.
Summary
Let's recap what we've accomplished:
- Installed .NET 10 SDK and cloned the TensorSharp repository.
- Downloaded a GGUF model file.
- Verified GPU and model functionality via CLI.
- Launched the Server to expose an OpenAI-compatible HTTP API.
- Called the local model from C# code using standard OpenAI request formats.
You now have a fully local, data-private LLM inference service. From here, you can explore:
- Using
--tp 2for tensor parallelism across multiple GPUs. - Leveraging the config file feature to persist CLI arguments in JSON.
- Exploring multimodal capabilities by adding image understanding (requires downloading the corresponding
mmprojfile). - Building a generic AI client in your business projects to easily switch between local and cloud models.
TensorSharp is rapidly iterating and already delivers performance comparable to hand-optimized C++ llama.cpp. For teams invested in the .NET ecosystem, this means AI capabilities can be fully integrated into your existing engineering workflows without maintaining a separate Python service. If you run into any issues during local deployment, feel free to leave a comment or open an issue. Happy coding!