How to Automate Code Quality Checks with Super-Linter: A Practical CI/CD Tutorial
Stop manually reviewing indentation and naming conventions. Learn how to integrate Super-Linter into your GitHub repository in under 10 minutes. This guide covers incremental checks, disabling specific languages, custom rule configuration, and local Docker debugging to enforce team coding standards automatically.
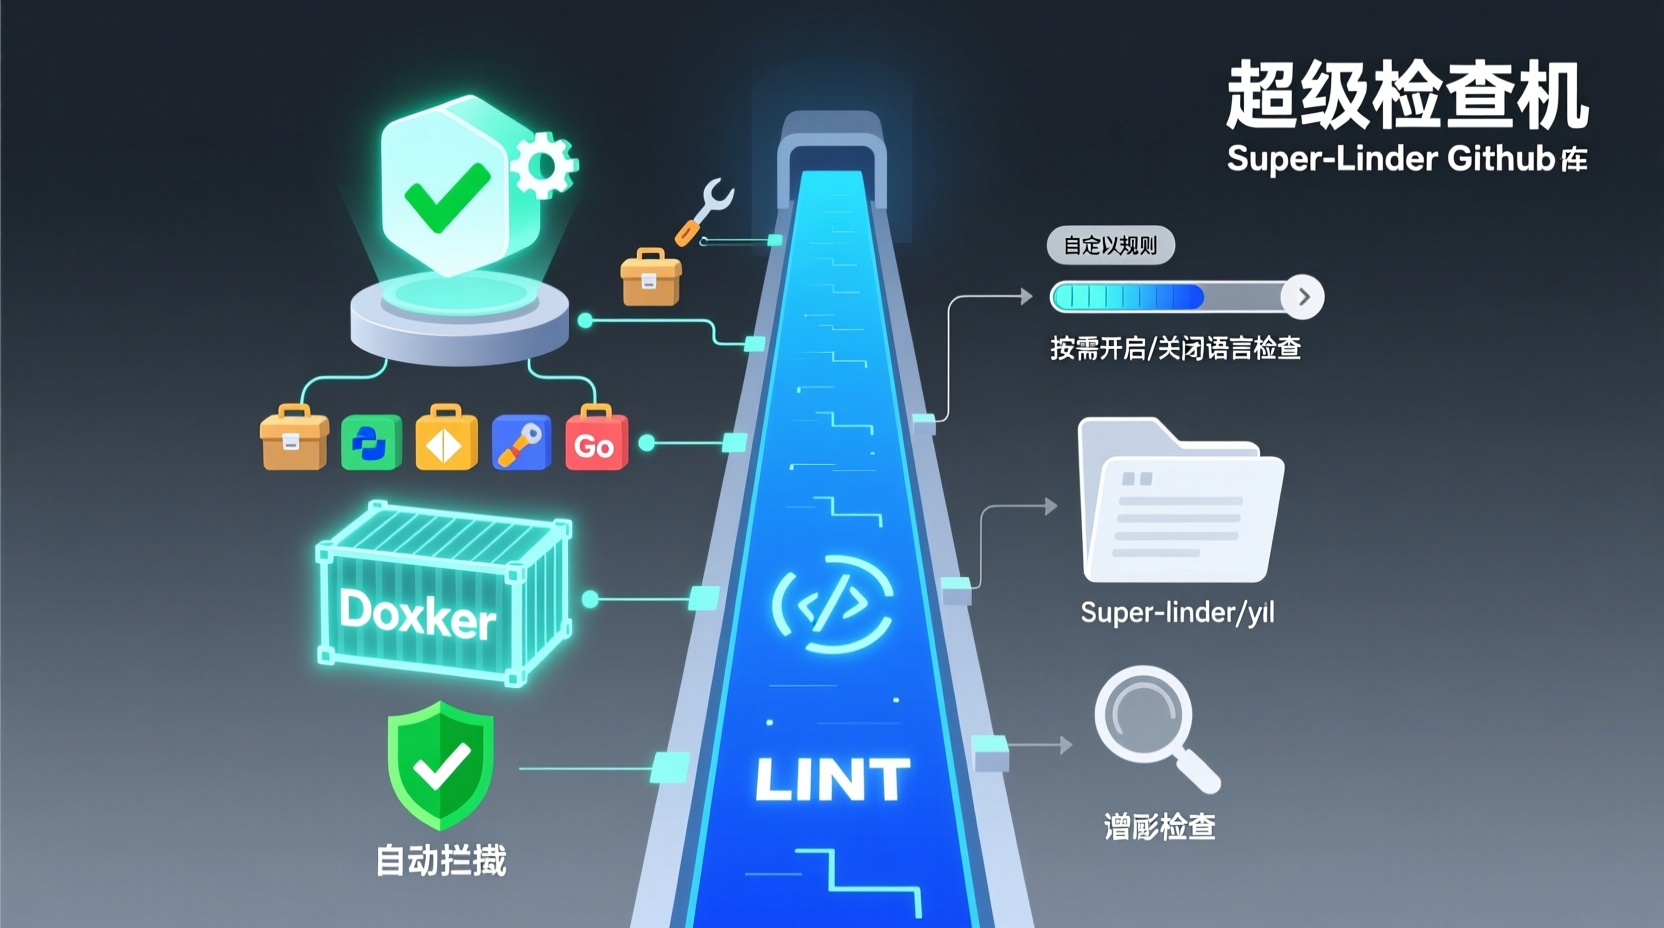
How to Automate Code Quality Checks with Super-Linter: A Practical CI/CD Tutorial
Why We Need It
If you've ever led a team or maintained an open-source project, you've definitely seen this scenario: during a code review, Pull Requests are cluttered with "low-level" issues like inconsistent indentation, missing trailing newlines, or poor variable naming. You spend hours reminding team members to follow coding standards, but you still end up acting as a human linter during every review.
I faced this exact problem on a Java backend project I managed. With six developers, each had a different coding style. We configured Checkstyle, but nobody ran it locally. I ended up manually eyeballing formatting issues during reviews until I discovered Super-Linter—an all-in-one "code quality checkpoint" that bundles dozens of linters.
By the end of this tutorial, you will be able to:
- Set up an automated linting pipeline in your GitHub repository in 3 simple steps.
- Enable or disable checks for specific languages to avoid false positives.
- Configure custom rule files that align with your team's standards.
- Debug locally using Docker, so you don't have to push code repeatedly to verify configurations.
Prerequisites
Before we begin, ensure you meet the following requirements:
- A GitHub account with write access to a repository (private or public).
- Basic familiarity with GitHub Actions workflows (you just need to know what a YAML config looks like).
- Docker installed locally (for the local debugging section later).
If you're still getting comfortable with Git or YAML syntax, I highly recommend practicing in a small test repository first rather than applying this directly to production projects.
Quick Start: Set Up CI Code Checks in 3 Steps
Step 1: Create the Workflow File
In the root directory of your repository, create .github/workflows/lint.yml and add the following content:
yaml
---
name: Lint

on:
  push:
  pull_request:

permissions:
  contents: read

jobs:
  build:
    name: Super-Lint
    runs-on: ubuntu-latest

    permissions:
      contents: read
      statuses: write

    steps:
      - name: Checkout code
        uses: actions/checkout@v6
        with:
          fetch-depth: 0
          persist-credentials: false

      - name: Run Super-Linter
        uses: super-linter/super-linter@v8.7.0
        env:
          GITHUB_TOKEN: ${{ secrets.GITHUB_TOKEN }}
Why these configs? Let's break them down:
fetch-depth: 0is crucial. Super-Linter relies on the full Git history to determine which files were modified in the current commit, enabling "incremental checking." If you only fetch the latest commit, it will perform a full repository scan, doubling the runtime.GITHUB_TOKENallows the linter to post status checks and comments on your PR. Without it, lint results won't appear on the PR page.statuses: writepermission enables the linter to display ✅ or ❌ marks next to commits, giving your team an instant visual cue on code quality.
Step 2: Push to a New Branch
bash
git checkout -b setup-super-linter
git add .github/workflows/lint.yml
git commit -m "ci: add super-linter workflow"
git push origin setup-super-linter
Step 3: Create a Pull Request
Open a PR on GitHub, and you'll see a new Lint job running in the Actions tab. The first run scans the entire repository, which can take anywhere from 1 to 5 minutes depending on your codebase size. Once finished, any issues will be clearly marked on the PR page.
Watch out for a common pitfall here: If you submit just this workflow, the linter will likely fail your PR. Why? Because the initial run scans everything, and your historical code probably already has accumulated plenty of linting errors. Don't panic—the solution is below.
In Practice: Incremental Checks & Selective Disabling (Avoid Legacy Code Traps)
Many teams abandon linters on day one because an initial run spits out hundreds of errors. The correct approach is: use the linter to enforce rules on new code first, and gradually clean up legacy issues.
The Scenario
Imagine your repository has 200 files, mostly written six months ago with inconsistent formatting. You want the linter to govern new code moving forward, without forcing you to fix every old file at once.
The Solution: Set VALIDATE_ALL_CODEBASE
Update your .github/workflows/lint.yml:
yaml
      - name: Run Super-Linter
        uses: super-linter/super-linter@v8.7.0
        env:
          GITHUB_TOKEN: ${{ secrets.GITHUB_TOKEN }}
          VALIDATE_ALL_CODEBASE: false
Setting this to false tells Super-Linter to only check files that are new or modified in the current PR compared to the default branch. Your old code is safe from being "audited."
Advanced: Check Only Specific Languages
If you have a mixed Java + Python repo but only want to enforce Python standards for now, configure it like this:
yaml
      - name: Run Super-Linter
        uses: super-linter/super-linter@v8.7.0
        env:
          GITHUB_TOKEN: ${{ secrets.GITHUB_TOKEN }}
          VALIDATE_ALL_CODEBASE: false
          VALIDATE_JAVA: false
          VALIDATE_JSX: false
          VALIDATE_TYPESCRIPT_ES: false
          # Only keep Python-related checks enabled
Here's a logical trap: If you set any VALIDATE_X to true, Super-Linter automatically switches to whitelist mode and sets all other languages to false. If you want to use whitelist mode (checking only specified languages), ensure at least one is set to true. Conversely, if you set them all to false, it acts as a blacklist mode, excluding only the listed languages.
Local Debugging: Verify Configurations Without Repeated PR Pushes
Pushing every config tweak and waiting for the CI pipeline to run is incredibly inefficient. Super-Linter supports local Docker execution, which is my go-to debugging method.
Steps
bash
docker run -e RUN_LOCAL=true -e VALIDATE_ALL_CODEBASE=false -v $(pwd):/tmp/lint ghcr.io/super-linter/super-linter:latestParameter breakdown:
RUN_LOCAL=truetells the linter it's not running inside GitHub Actions, so it won't try to access the GitHub API.-v $(pwd):/tmp/lintmounts your current project directory to/tmp/lintinside the container, which is Super-Linter's default scan directory.- You can also add
-e LOG_LEVEL=DEBUGfor verbose logging output.
Real-World Example: Fixing Shell Script Formatting
Suppose your repo contains a deploy.sh:
bash
#!/bin/bash
echo "deploying..."
cd /opt/app
ls -l *.jar
Running Super-Linter locally will highlight issues detected by ShellCheck (e.g., unquoted variables) and formatting issues from shfmt. You can fix them locally, run the Docker command again to verify, and only push once it passes.
This loop of fix code → verify locally with Docker → pass → push is by far the most efficient workflow I've found.
FAQs & Common Pitfalls
Q1: First run shows hundreds of errors and turns CI red. What do I do?
As mentioned, set VALIDATE_ALL_CODEBASE: false. Alternatively, if you absolutely need a full scan, temporarily set DISABLE_ERRORS: true. This will report all issues but return an exit code of 0, so it won't block your pipeline while you gradually fix the problems.
Q2: Can the linter auto-fix formatting issues?
Yes, Super-Linter supports a Fix mode. For YAML and Shell, for example:
yaml
        env:
          GITHUB_TOKEN: ${{ secrets.GITHUB_TOKEN }}
          FIX_YAML: true
          FIX_SHELL_SHFMT: true
When enabled, the linter will directly modify your source files. You'll need to pair this with stefanzweifel/git-auto-commit-action to automatically commit the fixes back to your PR. Note: Auto-fixes might not always match your aesthetic preferences, so run it locally first to review the changes.
Q3: How do I use my team's custom linter config files?
Super-Linter looks for custom configurations in the .github/linters directory by default. You can drop your custom files (like .eslintrc.json or .shellcheckrc) there, and the linter will prioritize them. To change the directory, simply set the LINTER_RULES_PATH environment variable.
Q4: How do I exclude certain files from being checked?
Use regex filtering:
yaml
          FILTER_REGEX_EXCLUDE: ".*test/.*|.*vendor/.*"
          IGNORE_GITIGNORED_FILES: true
The first variable uses regex to exclude files under test/ and vendor/. The second tells the linter to also skip any files listed in .gitignore.
Q5: Permission errors when running Docker locally?
Ensure the mounted directory has read/write permissions. On Linux, you might occasionally need to run it with your current user ID:
bash
docker run -u $(id -u) -e RUN_LOCAL=true -v $(pwd):/tmp/lint ghcr.io/super-linter/super-linter:latestSummary
The real value of Super-Linter isn't just "how many languages it supports," but rather shifting team coding standard enforcement from "human oversight" to "automated gatekeeping." Once configured, every PR passes through this quality checkpoint, and non-compliant code simply can't merge into the main branch.
Recap of today's workflow:
- Create the workflow: Add the Super-Linter action to
.github/workflows/lint.yml. - Enable incremental checks: Use
VALIDATE_ALL_CODEBASE: falseto avoid legacy code alerts. - Debug locally: Run it via Docker locally to speed up your iteration cycle.
- Fine-tune scope: Use
VALIDATE_XandFILTER_REGEX_EXCLUDEto precisely control what gets checked.
Next Steps:
- Test the full workflow in a non-critical repo first to build confidence.
- Explore Fix mode to let the linter auto-format code, reducing manual overhead.
- Version-control your
.github/lintersconfig directory so team members can clone it and standardize their local environments.
Code quality isn't achieved through manual reviews; it's enforced by automated checks. Give it a try.