How to Build an AI App with RAG and Tool Calling Using Genkit: A Practical Guide
Learn how to build a production-ready AI application from scratch using Google's open-source Genkit framework. This step-by-step tutorial covers environment setup, RAG pipeline construction, tool calling registration, and real-time debugging. Perfect for full-stack developers and AI builders looking to integrate LLMs efficiently without boilerplate glue code.
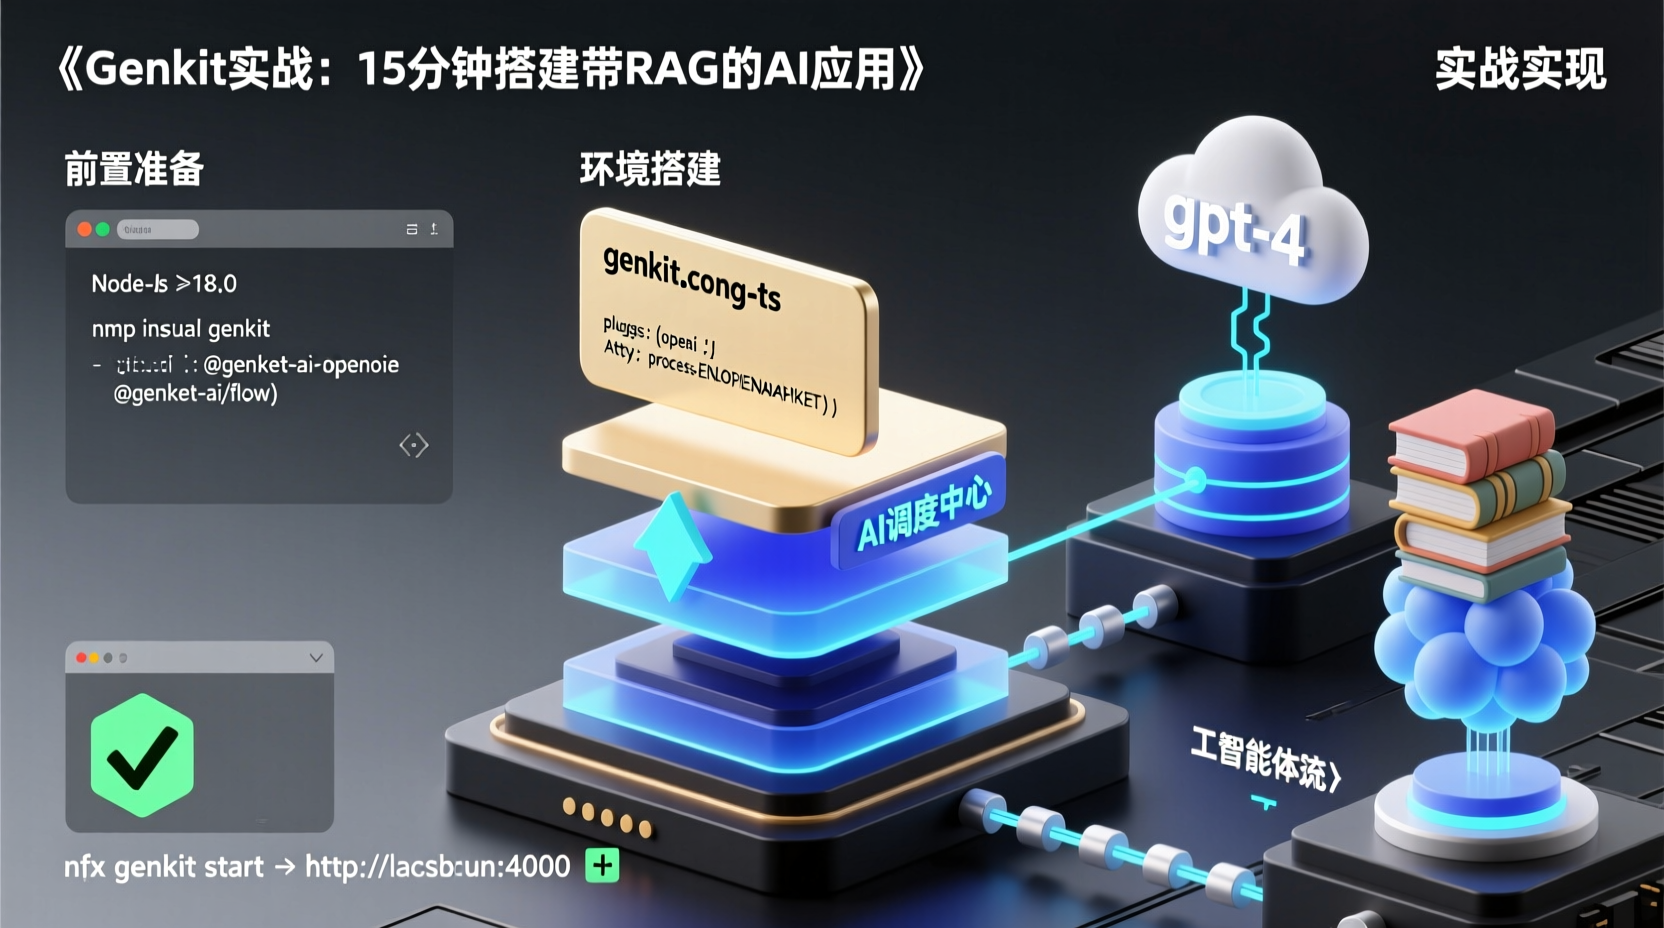
Last week, I was tasked with adding an AI Q&A assistant to our internal knowledge base. After evaluating several options, I found most either had overly complex integration chains or tightly coupled tool-calling logic. Then I tried Google's open-source Genkit framework. What would have taken three days was prototyped in just two hours.
In this tutorial, I’ll walk you through building a Genkit-powered AI application from scratch that supports document retrieval + tool calling. By the end, you’ll master:
- Seamless multi-model switching
- RAG pipeline construction
- Function calling registration
- Hot-reloading development server debugging
Let’s dive into the practical implementation.
Prerequisites
- Node.js ≥18.0 (Genkit relies on modern JS/TS features)
- A package manager (npm, yarn, or pnpm)
- OpenAI or Google Cloud API key
- Basic TypeScript knowledge (Genkit's primary language)
Step-by-Step Environment Setup
1. Install Core Dependencies
Genkit uses a plugin-based architecture. The core package only includes the runtime; capabilities are loaded on demand:
bash
mkdir genkit-demo && cd genkit-demo
npm init -y
npm install genkit @genkit-ai/openai @genkit-ai/flow
Why split installations? To prevent bundle bloat. If you only use OpenAI models, there's no need to bundle the Google Vertex AI SDK.
2. Generate Configuration File
Create genkit.config.ts in the project root:
typescript
import { genkit } from 'genkit';
import { openai } from '@genkit-ai/openai';

export const ai = genkit({
  plugins: [
    openai({ apiKey: process.env.OPENAI_API_KEY })
  ]
});
Design Intent: The configuration object acts as the application's central hub. The plugin array defines available capabilities. Once the OpenAI plugin is injected, you can directly call ai.model('gpt-4') later without reinitializing clients.
3. Start the Development Server
bash
npx genkit startThe server runs by default at http://localhost:4000, providing an interactive Playground and API documentation. Hot-reloading is built-in, so code changes take effect without manual restarts.
Hands-On: Smart Technical Support Agent
We'll build an agent capable of querying internal documents and invoking diagnostic tools. This involves three parts: model binding, tool registration, and RAG pipeline orchestration.
Core Implementation
typescript
import { z } from 'zod';
import { ai } from './genkit.config';

// Register diagnostic tool
ai.defineTool(
  {
    name: 'runDiagnostics',
    description: 'Execute system health checks',
    inputSchema: z.object({ service: z.string() }),
  },
  async ({ service }) => {
    // Simulate real diagnostic logic
    return { status: 'healthy', uptime: '72h' };
  }
);

// Build RAG processing flow
export const supportFlow = ai.defineFlow(
  {
    name: 'supportFlow',
    inputSchema: z.string(),
    outputSchema: z.string(),
  },
  async (query) => {
    const docs = await ai.retrieve({
      query,
      retriever: 'internalDocs' // Requires pre-configured index
    });

    const result = await ai.generate({
      model: 'gpt-4-turbo',
      prompt: `Based on the documentation:\n${docs.content}\n\nAnswer: ${query}`,
      tools: ['runDiagnostics'] // Link registered tools
    });

    return result.text;
  }
);
Key Design Notes
- Schema Validation in
defineTool: Zod ensures type safety at runtime, automatically intercepting invalid parameters. - Flow Orchestration Advantage: Encapsulates retrieval, generation, and tool calling into atomic operations, supporting independent load testing and versioned deployments.
- Prompt Injection Technique: Using template strings to mix retrieval results provides better control than relying solely on System Prompts.
Troubleshooting & Common Pitfalls
Q1: Playground shows "Plugin not loaded"?
- Verify that
genkit.config.tsis correctly imported. - Ensure plugin package versions are compatible with the main Genkit version (currently requires ≥0.5.0).
Q2: Tool calling never triggers?
- The model must support function calling (e.g., gpt-3.5-turbo-0613 or later).
- The
toolsarray names must exactly match thenamefield indefineTool.
Q3: How to simulate API rate limits during local debugging?
- Wrap retry logic outside the Flow using Genkit's built-in
withRetrydecorator.
Recommended Next Steps
Once the example is running, try these:
- Swap Model Providers: Install
@genkit-ai/google-cloudto switch to Vertex AI. - Add Multimodal Capabilities: Use plugins to integrate image parsing.
- Deploy to Production: Use
genkit deployto package a Docker image in one click.
Genkit abstracts away the most tedious glue code in AI engineering, letting you focus on business logic. The complete code from this tutorial is open-sourced on GitHub. If you hit a roadblock, drop a comment—I’ll reply as soon as possible.