How to Build Your First Personal AI Agent with nanobot in 15 Minutes
A practical, step-by-step guide to installing, configuring, and deploying HKUDS/nanobot locally. Learn how to set up an OpenAI-compatible model, launch the WebUI, and use your new AI agent for log analysis, file management, and automation.
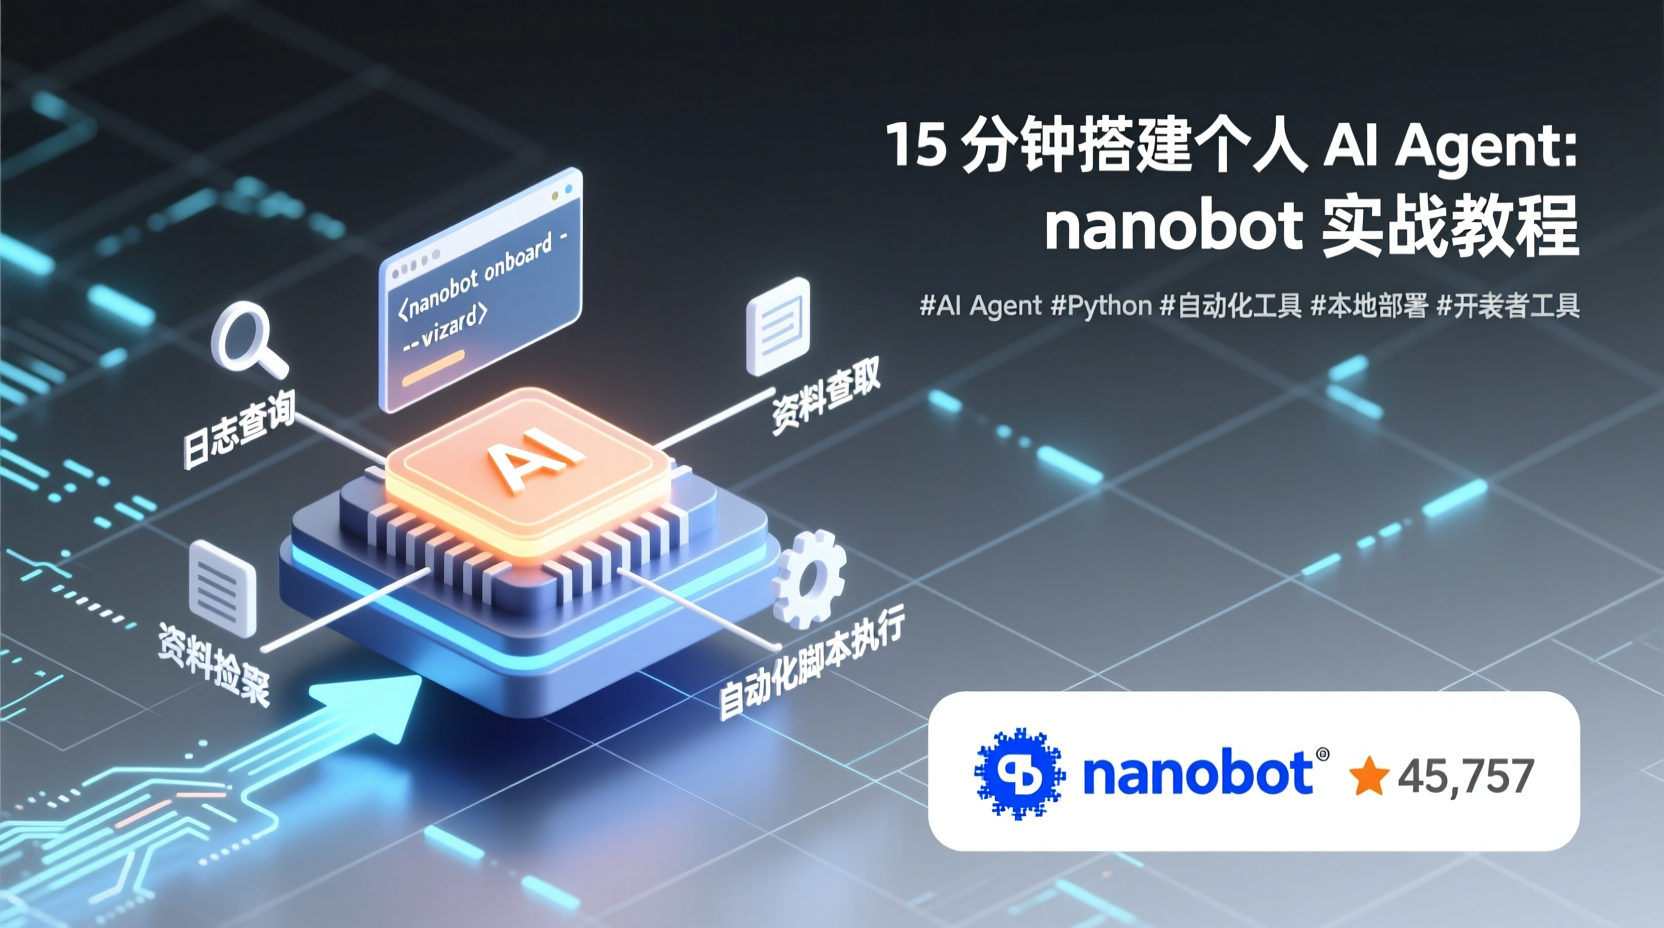
How to Build Your First Personal AI Agent with nanobot in 15 Minutes
Have you ever faced these situations? A midnight deployment fails, forcing you to dig through logs across multiple servers. You constantly switch to search engines while coding. You manually run repetitive scripts... As backend developers, we easily spend 30% of our time on "information retrieval" and "repetitive tasks".
What if I told you that with just one command, you can run an on-demand AI assistant locally that can search files, browse resources, run scripts, and interact via a WebUI just like chatting? Is it worth spending 15 minutes to try?
Today, I'll walk you through deploying HKUDS/nanobot, a lightweight open-source AI Agent with over 45k stars. By the end of this guide, you'll have your own AI automation hub running locally.
Prerequisites
Before starting, ensure you meet the following:
- Python 3.11+ (hard requirement for nanobot)
- A valid LLM API Key (OpenAI, Moonshot, DeepSeek, or any OpenAI-compatible endpoint works. Local Ollama is also supported.)
- Basic terminal skills (
cd, editing JSON is enough) - OS: macOS / Linux / Windows all supported
I'm using Ubuntu 22.04 + Python 3.11, but the steps are nearly identical on Mac.
Step 1: One-Click Installation
nanobot provides a highly user-friendly installation script that automatically handles virtual environments, installs dependencies, and even launches an onboarding wizard:
bash
curl -fsSL https://raw.githubusercontent.com/HKUDS/nanobot/main/scripts/install.sh | shWhat's happening under the hood? The script checks for uv, pipx, or an existing venv. If none are found, it creates an isolated environment at ~/.nanobot/venv and installs the nanobot-ai package inside it. This keeps your system Python environment clean.
Windows users can run the PowerShell equivalent:
powershell
irm https://raw.githubusercontent.com/HKUDS/nanobot/main/scripts/install.ps1 | iexPrefer manual installation? Use uv or pip:
bash
uv tool install nanobot-ai
## or
python -m pip install nanobot-ai
Verify the installation:
bash
nanobot --versionStep 2: Initialize & Configure Your Model
After installation, run the onboarding command (skip this if the installer already launched the wizard for you):
bash
nanobot onboard --wizardThis interactively guides you through initial setup, including selecting a model provider and entering your API Key. It will generate a config file and workspace directory under ~/.nanobot/.
For manual configuration, open ~/.nanobot/config.json. You mainly need to configure two sections: providers and modelPresets. Here's an example using an OpenAI-compatible API:
json
{
  "providers": {
    "custom": {
      "apiKey": "sk-your-api-key-here",
      "apiBase": "https://api.openai.com/v1"
    }
  },
  "modelPresets": {
    "primary": {
      "label": "Primary",
      "provider": "custom",
      "model": "gpt-4o-mini",
      "maxTokens": 8192,
      "contextWindowTokens": 200000,
      "temperature": 0.1
    }
  },
  "agents": {
    "defaults": {
      "modelPreset": "primary"
    }
  }
}
Breakdown:
providers.custom: Holds your API key and endpoint. For Moonshot, DeepSeek, SiliconFlow, or local Ollama, just update theapiBase.modelPresets.primary: Defines your default model. Change themodelfield to match your provider's model ID.agents.defaults.modelPreset: Links the default preset to your agent.
Why use modelPresets instead of hardcoding the model? nanobot supports model switching and fallbacks. The preset system lets you hot-switch models later via the /model command without restarting or editing configs.
Step 3: Launch the WebUI
Once configured, it's time for the main event—starting the agent gateway:
bash
nanobot gatewayKeep the terminal open, then open your browser to http://127.0.0.1:8765 to access the nanobot WebUI.
To run it in the background without keeping a terminal open:
bash
nanobot gateway --background
## Manage it later with:
nanobot gateway status
nanobot gateway logs
nanobot gateway restart
nanobot gateway stop
Hands-On: Let the Agent Analyze Logs
With the WebUI running, let's tackle a real-world scenario. Suppose your production service throws an error, and logs are in ~/logs/app/. You want the AI to quickly pinpoint the issue.
In the WebUI chat box, simply type:
"Check the last 50 lines of ~/logs/app/error.log, and analyze the recent error reasons."
nanobot will invoke its file-reading tool, fetch the log content, and have the LLM analyze the errors. All without leaving your browser.
You can achieve the same via CLI:
bash
nanobot agent -m "List the files in ~/.nanobot/workspace/ and tell me what's inside."For long-term automation, nanobot also supports goals and automations (scheduled tasks).
Advanced: Connect to Telegram / Feishu / WeCom
A standout feature of nanobot is its multi-channel chat support. You can connect the agent to Telegram, Discord, Feishu, WeChat, Slack, or email. This means you can chat with your AI agent from your phone anywhere you go.
Configuration is done in the chat channel section of config.json. See the official Chat Apps Docs for details. For Telegram, just paste your Bot Token.
FAQ & Troubleshooting
Q1: How to fix externally-managed-environment error?
This is pip's safety mechanism on some OS (especially macOS/Ubuntu). Solution: Use uv tool install or pipx install, or manually create a venv first.
Q2: WebUI won't connect after opening?
Verify nanobot gateway is running and you're accessing http://127.0.0.1:8765 (not localhost:8765, as browsers sometimes behave differently). Also note that port 18790 is for health checks, don't confuse them.
Q3: Provider shows "not set"?
Run nanobot status to check. If the active preset's provider lacks an apiKey, it will show as not set. Double-check that providers and modelPresets in config.json match correctly.
Q4: How to use a local model?
Change apiBase to Ollama's endpoint (default http://localhost:11434/v1) and set model to your pulled model name (e.g., llama3). Zero extra cost.
Summary
Quick recap of today's steps:
- One-command install of
nanobot-ai - Run
nanobot onboardto initialize - Configure API Key & model in
~/.nanobot/config.json - Start with
nanobot gateway, open WebUI in browser - Chat with your Agent to get things done
nanobot's core philosophy is "small but beautiful"—readable core code, highly extensible, and self-hostable. Unlike heavy frameworks, it acts like a Swiss Army knife, giving you essential capabilities (chat, tools, memory, automation) without imposing heavy architectural decisions.
Next Steps:
- Explore MCP (Model Context Protocol) integration to connect more external tools.
- Try the
automationsfeature to let your agent run daily reports, monitoring, or data processing on a schedule. - Check the Python SDK docs to embed nanobot into your own backend services.
Give it a try, and feel free to share your questions in the comments!