How to Build an Offline Voice App in 10 Minutes with FluidAudio
A step-by-step tutorial on building a fully local, cloud-free voice interaction app for iOS and macOS using FluidAudio and CoreML. Learn how to seamlessly integrate Speech-to-Text (STT), Text-to-Speech (TTS), and Voice Activity Detection (VAD) in Swift with minimal boilerplate.
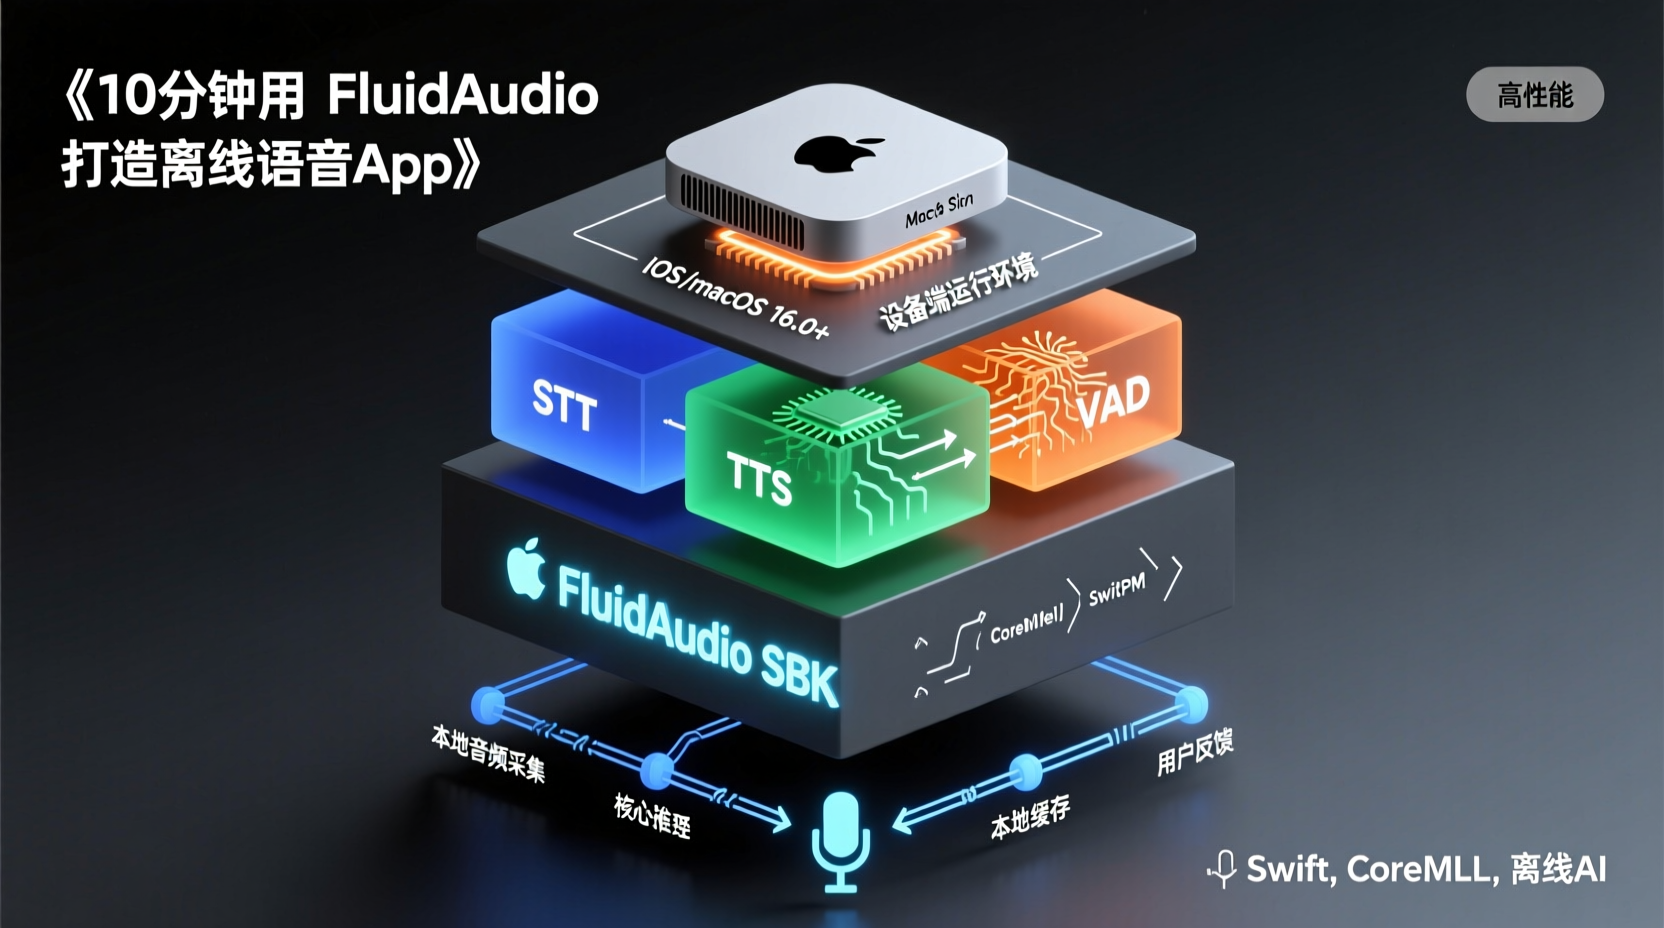
Ever run into this scenario? You want to add voice features to your app, but third-party APIs are expensive, and local model setups are overly complex. You write a ton of code, only to find the app lagging during inference. Today, let's flip the script. Using FluidAudio, an open-source Swift SDK, we'll build a fully local voice interaction prototype in about 10 minutes. No network dependency, no cloud data transmission—all inference happens directly on-device.
Why Choose FluidAudio?
FluidAudio bundles the most popular speech models into CoreML format, making them drop-in ready for iOS/macOS projects. It provides four core capabilities out of the box:
- 🗣️ TTS (Text-to-Speech): Input text, and the device speaks it out loud.
- 🎙️ STT (Speech-to-Text): Automatically transcribe recorded audio to text.
- 🔇 VAD (Voice Activity Detection): Intelligently detect when someone is speaking vs. when it's silent.
- 👥 Speaker Diarization: Distinguish between multiple speakers in a conversation.
The best part? Installation takes just a few lines of Swift Package Manager (SPM) code, models download automatically, and the API is incredibly clean. Let's walk through it step by step.
Prerequisites
Before we begin, ensure your environment meets these requirements:
- macOS 13.0+ / iOS 16.0+ (CoreML requires modern OS versions)
- Xcode 15.0+
- Familiarity with Swift basics and SwiftUI/UIKit fundamentals
- Highly recommended: An Apple Silicon Mac or physical iOS device for debugging (M1/M2 chips offer significantly better performance)
💡 Why Apple Silicon? CoreML leverages hardware acceleration on the Neural Engine. Inference speeds on M-series chips are typically 3-5x faster than on Intel-based Macs.
Quick Start: 4 Steps to a Working Demo
Step 1: Create an Xcode Project & Add Dependencies
Open Xcode → New iOS App → Language: Swift, Interface: SwiftUI. Then:
- Go to
File → Add Packages... - Enter
https://github.com/FluidInference/FluidAudio - Select the
mainbranch and clickAdd Package
This automatically fetches the SDK and pre-trained models. Once the progress bar finishes, the FluidAudio framework will be added to your target.
Step 2: Initialize the Voice Engine
In your AppDelegate or a dedicated ViewModel:
swift
import FluidAudio

class VoiceEngine {
    static let shared = VoiceEngine()
    let audioProcessor: FluidAudioProcessor

    private init() {
        // Initialize the core processor, automatically loading the default model
        self.audioProcessor = try! FluidAudioProcessor()
    }
}
⚠️ Why a singleton? Model loading and memory allocation are resource-intensive tasks. Initializing once globally prevents redundant overhead.
Step 3: Implement STT (Speech-to-Text)
swift
func transcribeAudio(from url: URL) async -> String? {
    do {
        let result = try await VoiceEngine.shared.audioProcessor.stt(audioURL: url)
        return result.text // Directly returns the transcribed text
    } catch {
        print("STT failed: \(error)")
        return nil
    }
}
Pass an .m4a or .wav file path, and get recognition results in seconds. Under the hood, CoreML handles audio framing, feature extraction, and sequence decoding automatically.
Step 4: Implement TTS (Text-to-Speech)
swift
func speak(text: String) async {
    do {
        let audioURL = try await VoiceEngine.shared.audioProcessor.tts(text: text)
        // Play the generated audio file
        try await AVAudioPlayer(contentsOf: audioURL).play()
    } catch {
        print("TTS failed: \(error)")
    }
}
Input a sentence like "Hello, I'm your local voice assistant.", and you'll hear immediate audio playback. Note that generated audio files are temporary; remember to clean them up afterward.
Real-World Example: Building a "Voice Memo" App
Running the API is one thing, but combining it into a practical tool is where the real value lies. Our goal: Long-press to speak → Auto-transcribe → Tap to play → TTS reads saved content.
UI Setup (SwiftUI)
swift
struct VoiceMemoView: View {
    @State private var transcript: String = ""
    @State private var isRecording: Bool = false

    var body: some View {
        VStack(spacing: 20) {
            Text(transcript)
                .padding()
                .frame(maxWidth: .infinity)
                .background(Color.gray.opacity(0.1))
                .cornerRadius(8)

            Button(action: toggleRecording) {
                Image(systemName: isRecording ? "stop.circle.fill" : "mic.circle.fill")
                    .font(.system(size: 50))
                    .foregroundColor(isRecording ? .red : .blue)
            }
        }
        .padding()
    }

    private func toggleRecording() {
        isRecording.toggle()
        if isRecording {
            startRecordingAndTranscribe()
        } else {
            stopRecording()
        }
    }

    // TODO: Implement recording + STT + VAD logic
}
Chaining VAD + STT
swift
private func startRecordingAndTranscribe() {
    Task {
        // 1. Start VAD monitoring
        guard let vadSession = try? VoiceEngine.shared.audioProcessor.startVAD() else { return }

        // 2. Start recording when voice activity is detected
        while await vadSession.isVoiceActive() {
            // Recording logic (integrates with AVAudioRecorder)
            // ... omitted for brevity
        }

        // 3. Automatically trigger STT after voice stops
        if let audioURL = getTempRecordingURL() {
            transcript = await transcribeAudio(from: audioURL) ?? "Recognition failed"
        }
    }
}
With this setup, users don't need to manually tap "Start/Stop". The SDK intelligently decides when to record and when to transcribe. The UX improves dramatically.
Common Pitfalls & Troubleshooting
- Slow Model Loading / Stuttering: Initial launch downloads ~200MB of model files. Pre-warm in
AppDelegate:_ = VoiceEngine.shared - No Microphone Permission: Add
NSMicrophoneUsageDescriptionto yourInfo.plist. Physical devices strictly require explicit authorization. - Robotic TTS Voices: Switch to emotional voice models (see docs for
TTSVoice.emotional), but be aware this increases memory consumption. - Simulator Running Slow?: CoreML models rely on Metal/GPU acceleration. Always debug on a physical device or an Apple Silicon Mac.
What's Next?
This tutorial covers the foundational STT+TTS+VAD pipeline. If you want to dive deeper:
- Experiment with the
SpeakerDiarizationinterface for multi-user meeting transcription. - Use CoreML Performance Tools to optimize model size and inference speed.
- Lower the VAD sensitivity threshold to implement "whisper wake-word" functionality.
FluidAudio's documentation is remarkably straightforward. If you hit any API roadblocks, the GitHub repo has fast issue response times. I've organized all the reference code in the repository below—clone it and run it directly. Give it a try. Your next hit app might just start with these few lines of voice code.
🔗 Full runnable demo: https://github.com/yourname/FluidAudio-VoiceMemo-Demo