How to Manage MySQL, Redis, and MongoDB with dbx: A 15-Minute Practical Guide
Tired of heavy database clients? Discover dbx, a 15MB Rust-native unified client for 60+ databases. This guide walks you through Docker deployment, MySQL querying, data export, and seamless switching to Redis/MongoDB to streamline your dev workflow.
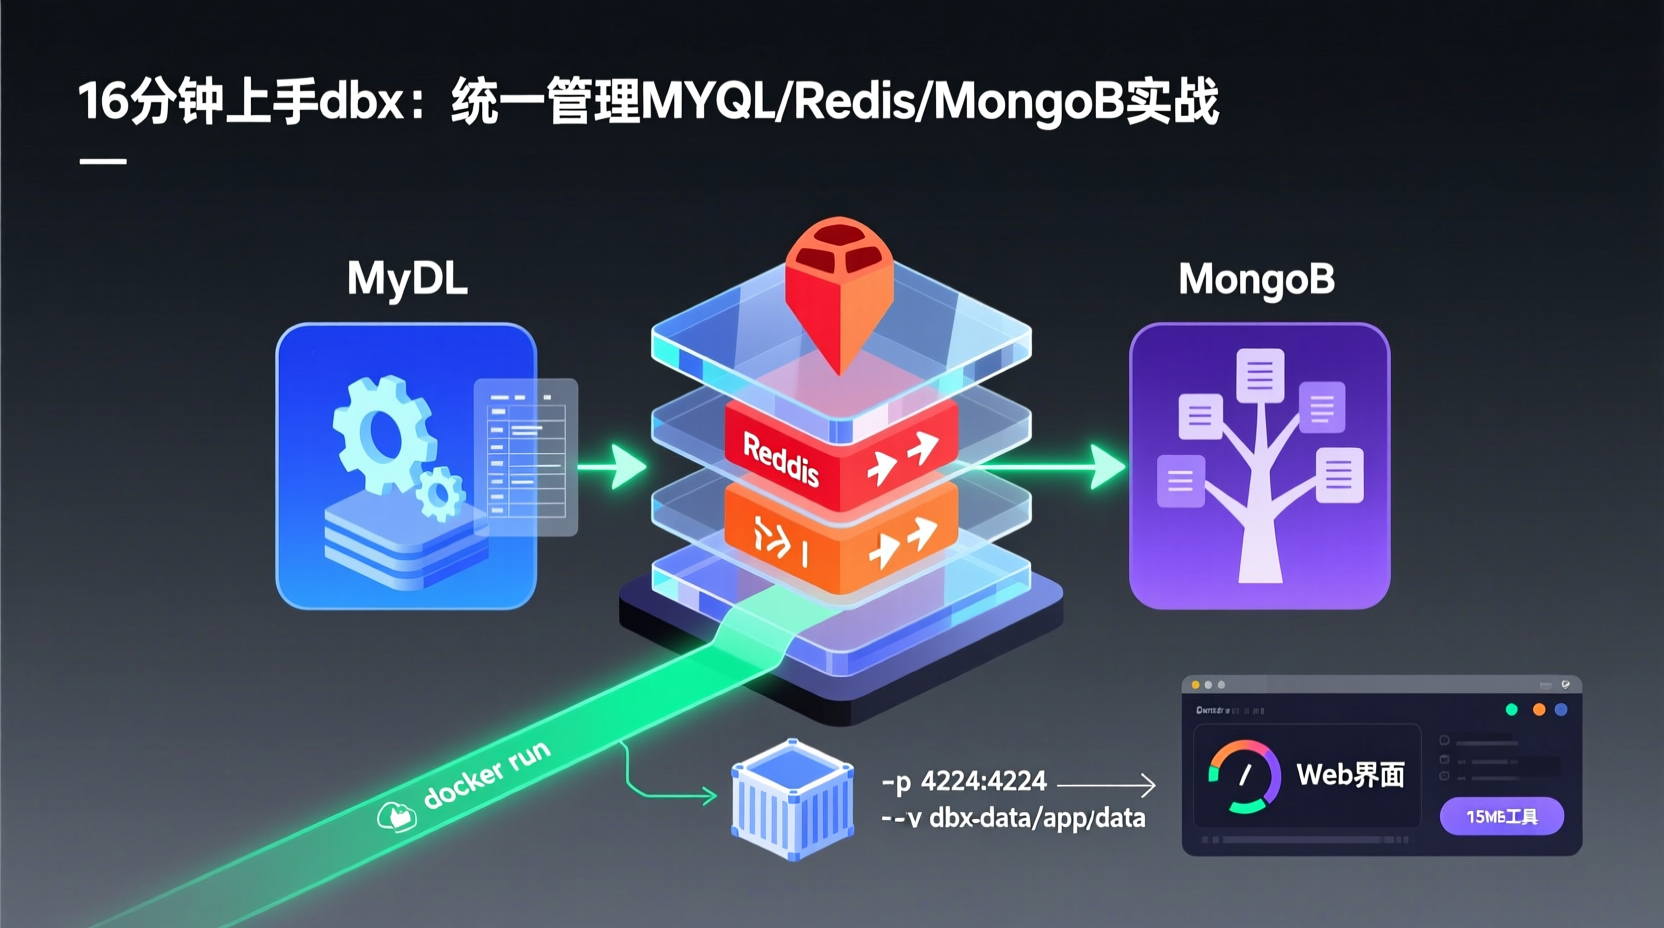
Ditch the 200MB Database Clients: Is a 15MB Rust-Native Tool Really Enough?
Last week, a new colleague on my team installed DBeaver. Just the JDK alone took up tens of megabytes, and startup times were sluggish. Worse, our team maintains three or four different databases (MySQL, PostgreSQL, Redis, MongoDB), and constantly switching between different client windows was a hassle.
I recommended dbx—a cross-platform database client that's only 15MB and requires no Java or Python runtime. Built with Rust and Tauri, it supports 60+ databases, offers Docker self-hosting, and even includes an AI-assisted SQL writer and MCP interface. In this article, I'll walk you through getting started from scratch. By the end, you'll have dbx running locally, perform a complete SQL query and data export, and seamlessly switch to Redis and MongoDB. The whole process takes about 15-20 minutes.
I. Prerequisites
- OS: macOS / Windows / Linux. This guide uses Docker deployment, making it accessible via web on Linux cloud servers and easy for team sharing.
- Docker: Version 20+ installed.
- A running database: We'll use MySQL as an example. You need a local or remote MySQL instance (v8.x recommended) with
host,port,user,password, anddatabase. If you don't have one, spin it up:docker run -d --name demo-mysql -e MYSQL_ROOT_PASSWORD=root123 -p 3306:3306 mysql:8
II. Deploying dbx
dbx can be installed via brew install --cask dbx on macOS or winget install t8y2.dbx on Windows. However, I highly recommend the Docker method for two reasons: ① One deployment gives the whole team access via a web interface; ② Zero system dependency headaches.
Quick Start
bash
## One-liner to launch dbx, with data persisted to a Docker volume
docker run -d --name dbx \
  -p 4224:4224 \
  -v dbx-data:/app/data \
  t8y2/dbx
Why use a volume? dbx stores connection configs, query history, and saved SQL snippets in
/app/data. Without a volume, all configs are lost when the container is removed. By using the named volumedbx-data, you can easily recreate the container and restore everything by mounting the same volume.
After starting, open http://localhost:4224 in your browser. You'll see the dbx interface, complete with dark/light modes and 9 editor themes out of the box.
If running behind a reverse proxy (e.g., Nginx at /dbx), simply set the environment variable:
yaml
environment:
  - DBX_PUBLIC_BASE_PATH=/dbx
III. Connect to MySQL and Run Queries
Once in the web UI, look at the left sidebar's connection manager. Let's proceed step-by-step:
Step 1: Create a New Connection
Click the + or New Connection, select MySQL, and fill in:
- Host: Your MySQL address (
127.0.0.1locally, orhost.docker.internalif accessing the host from a Docker container) - Port:
3306 - User:
root - Password: Your password
- Database: (Optional) Pre-selects a specific database
⚠️ Pitfall Alert: When accessing the host's MySQL from inside a Docker container,
localhostor127.0.0.1will loop back to the container itself. Usehost.docker.internal(Docker Desktop) or the host's actual LAN IP.
Click "Test Connection". Once successful, click "Save".
Step 2: Browse Schema
After connecting, the left sidebar will display a schema browser: Database → Schema → Tables → Columns. You can view fields, indexes, and foreign keys. Use the search bar to quickly locate tables in large schemas.
Step 3: Execute Queries
Click the Query Editor on the left. It uses CodeMirror 6 under the hood, providing SQL syntax highlighting, intelligent autocomplete (aware of table/column metadata), and theme support.
Try a query:
sql
-- Fetch the first 10 users
SELECT id, username, email, created_at
FROM users
ORDER BY created_at DESC
LIMIT 10;
How to run:
Cmd+Enter(macOS) orCtrl+Enter(Windows/Linux): Run all SQL- Select a portion and press the shortcut: Run only the selected statement.
Results appear in the Data Grid below. It uses virtual scrolling, so even millions of rows won't lag. You can filter, sort, and resize columns directly in the grid.
IV. Data Export in Action
Often, you need to export query results for product or operations teams. dbx makes this seamless.
Export to CSV / Excel
After running a query, click the export button above the Data Grid. It supports CSV, JSON, Markdown, and XLSX. You can also export directly as INSERT statements.
Example: Export the user query above to Excel.
bash
## This is a GUI operation:
## 1. Run the query
## 2. Click "Export" on the results table
## 3. Choose XLSX format
## 4. Confirm save path, done
Why this matters: Previously, exporting data required CLI commands or plugins. dbx integrates export right next to the data grid, accessible via context menu, saving you from constant switching.
Save SQL Snippets
If you have frequently used queries (e.g., daily reporting), save them as SQL Snippets in the Query Editor. Next time, just click them from the sidebar instead of digging through history.
V. Switch to Redis / MongoDB to Verify Multi-DB Support
This is dbx's killer feature: managing 60+ databases in one unified tool. Let's quickly test Redis and MongoDB.
Redis Connection
Create a new connection, select Redis, and enter Host/Port:
bash
## Spin up a local Redis for testing
docker run -d --name demo-redis -p 6379:6379 redis:7
After connecting, a Redis-specific browser appears:
- Search by key pattern
- Batch key operations
- Supports all Redis data types (String, Hash, List, Set, ZSet, Stream)
- Edit TTL directly
You can runSET mykey "hello dbx"andGET mykeyright in the GUI. Much smoother than jumping back and forth inredis-cli.
MongoDB Connection
Create a new connection, select MongoDB, and enter the standard URI:
mongodb://user:password@host:27017/dbnameOnce connected, you get a MongoDB document browser with paginated CRUD and direct Atlas URL support. Documents render as JSON for easy field editing.
Real-world feel: I used to keep Robo 3T/Compass for MongoDB, Another Redis Desktop Editor for Redis, and DBeaver for MySQL. Now, one
dbxhandles it all. Just switch connections in the sidebar, and cut my desktop clutter in half.
VI. Troubleshooting & Tips
- macOS Apple Silicon: dbx natively supports ARM64 and amd64. If SQLite driver prompts appear, go to Settings → Driver Manager to download offline drivers.
- AI SQL Assistant requires internet: Supports Claude, OpenAI, and local Ollama. If behind a corporate proxy, configure it in Settings. AI can be disabled for offline use without affecting core querying.
- SSH Tunneling: If your DB is behind a bastion, dbx supports SSH tunnels (password & key auth). Fill in SSH details in the connection settings—no need for separate SOCKS proxies.
- Migrate from DBeaver/Navicat: Rolling this out to the team? Use the "Import Connections" feature to directly import old DBeaver or Navicat configs.
VII. Conclusion
In this guide, we covered:
- Deploying dbx via Docker (one-liner with persistent volume)
- Connecting to MySQL & querying (Schema browsing → Query Editor → Result grid filtering/sorting)
- Data Export (CSV/XLSX/INSERT one-click export)
- Switching to Redis/MongoDB (verifying unified multi-DB management)
dbx's greatest strength is being lightweight yet comprehensive—a 15MB binary with no Java/Python dependencies, covering daily management for 60+ databases, plus built-in AI SQL assistance and MCP integration (allowing AI coding assistants like Claude Code or Cursor to query your configured DBs directly).
Next Steps:
- Configure SSH tunnels for remote production jump hosts.
- Enable the AI SQL assistant and describe your needs in natural language.
- Integrate MCP into your daily AI coding workflow (add one line to
.mcp.json:npx @dbx-app/mcp-server). - Try Schema Diff to compare table structures across environments.
You won't know if a tool fits your workflow until you try it. At 15MB, there's no downside to installing it.