Getting Started with Terminal.Gui: Build a Terminal Task Manager in 10 Minutes
A practical, step-by-step guide to building an interactive terminal UI with C# and Terminal.Gui. Learn how to set up a task manager panel with lists, input fields, buttons, and event handling without relying on web or GUI frameworks.
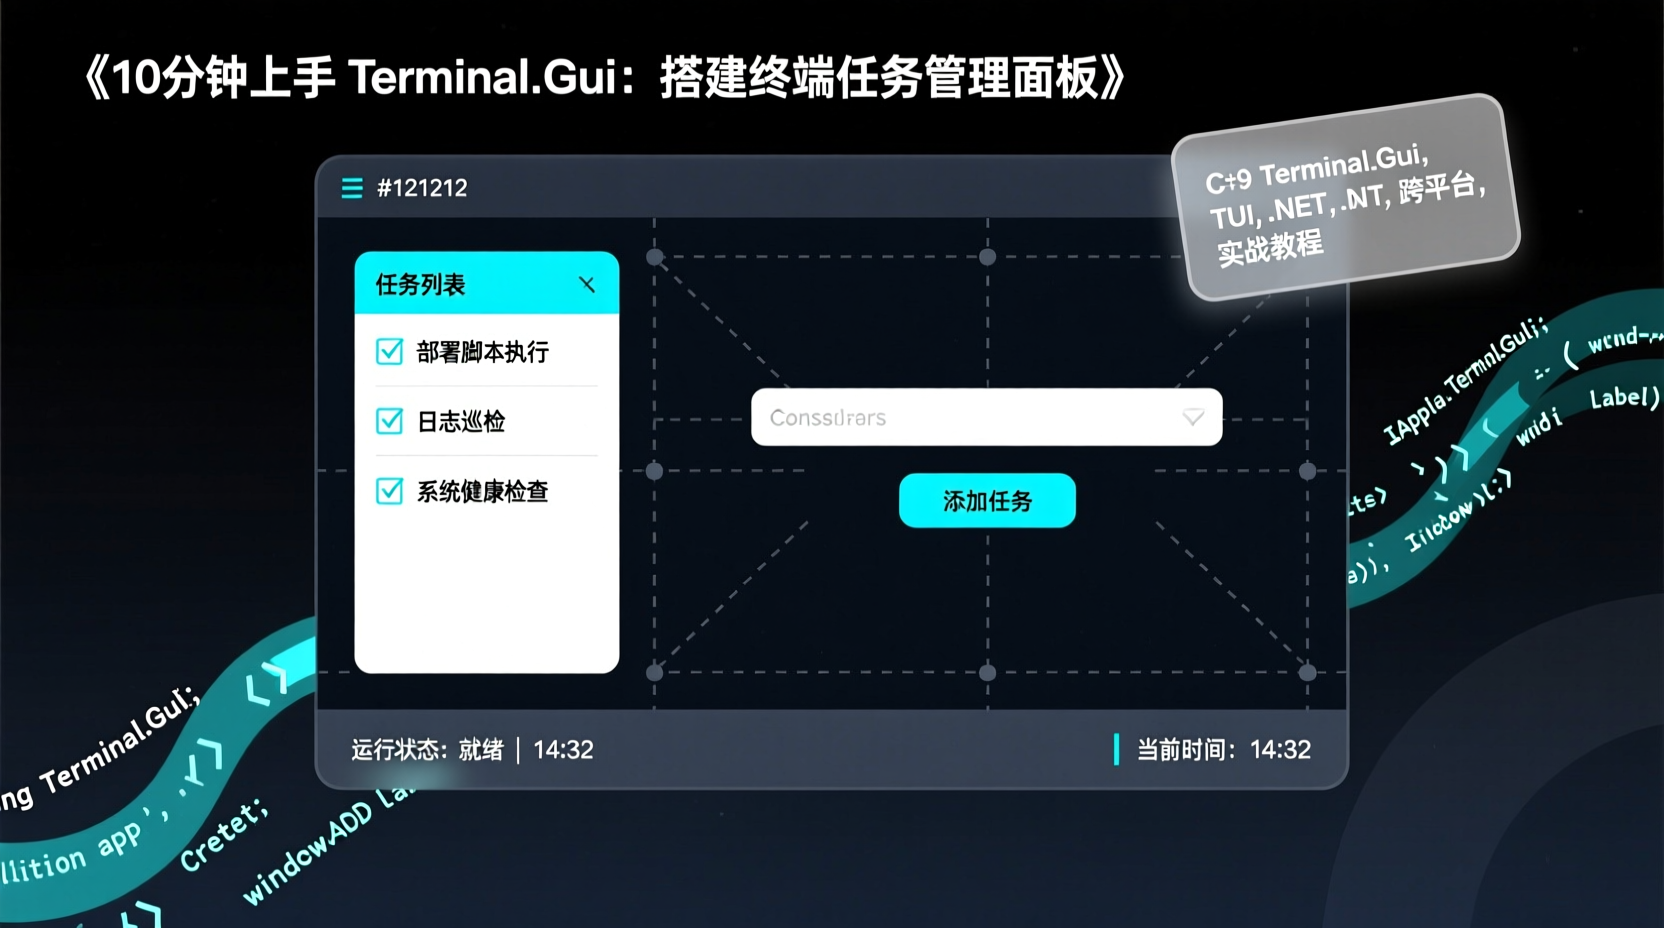
Getting Started with Terminal.Gui: Build a Terminal Task Manager in 10 Minutes
Why Do You Need This?
Over the years as a backend developer, I've written countless maintenance scripts and inspection tools. Initially, they relied on basic Console.WriteLine and Console.ReadLine for CLI interaction. While functional, the UX leaves much to be desired: a wrong parameter means starting over, checking historical status requires scrolling through terminal logs, and building a menu system means maintaining a messy stack of switch-case statements.
Enter Terminal.Gui. Things change completely once you start using it. It's a cross-platform terminal UI toolkit for .NET that lets you build applications with menus, buttons, tables, input fields, and progress bars directly in the terminal. No browser required, no graphical desktop environment dependency. It runs flawlessly over SSH on remote servers.
In this tutorial, I'll walk you through building a Terminal Task Manager from scratch—complete with a task list, input fields, and completion toggles. Once you're done, you can apply these concepts directly to your own ops tools, CLI dashboards, or any interactive script.
Prerequisites
- .NET 8+ SDK: Running
dotnet --versionshould output a valid version. - Basic C# Knowledge: Familiarity with
dotnet newand running console applications is enough. - No frontend experience or Linux GUI environments required.
Step 1: Environment Setup & Package Installation
Open your terminal and create a standard console project:
bash
dotnet new console -n TaskManagerTUI -f net8.0
cd TaskManagerTUI
Then, install Terminal.Gui:
bash
dotnet add package Terminal.GuiWhy add the NuGet package directly instead of using a project template? Terminal.Gui v2 adopts an instance-based IApplication architecture. While templates save initial setup time, understanding the underlying Application.Create() call and lifecycle is crucial for debugging later. Hand-crafting it once will pay off; you can switch to templates once you're comfortable.
Step 2: Run Your First Window to Verify the Setup
In Program.cs, write a minimal "Hello World":
csharp
using Terminal.Gui;
using Terminal.Gui.App;
using Terminal.Gui.Views;

// Create and initialize the Application instance
using IApplication app = Application.Create();
app.Init();

// Create a window and set its title
using Window window = new() { Title = "Hello TUI" };

// Add a centered label
Label label = new()
{
    Text = "Terminal.Gui is running! Press Esc to close",
    X = Pos.Center(),
    Y = Pos.Center()
};
window.Add(label);

// Start the app. This blocks until the window closes
app.Run(window);
Run dotnet run. You'll see a terminal window pop up with centered text. Press Esc to exit.
Key concepts to note here:
Application.Create()replaces the static class calls from v1. v2 shifted to an instance-based model, making multi-instance scenarios and unit testing much easier.Pos.Center()is the core of Terminal.Gui's layout system. You don't need to calculate coordinates; it centers elements for you. UsePos.Percent(50)for percentage-based positioning.app.Run()enters the event loop and blocks the main thread until the window is closed.
Step 3: Hands-On Practice — Building the Task Management Panel
Showing static text isn't very exciting. Let's build a fully interactive panel.
3.1 Define the Data Model
Start by defining a simple task model in your project:
csharp
class TaskItem
{
    public string Name { get; set; } = "";
    public bool IsDone { get; set; }
    public override string ToString() => IsDone ? $"✓ {Name}" : $"○ {Name}";
}
Overriding ToString() is critical here—many Terminal.Gui controls rely on ToString() to render their text content.
3.2 Full Code: Interactive Panel with List, Input, and Buttons
Replace the contents of Program.cs with the following:
csharp
using Terminal.Gui;
using Terminal.Gui.App;
using Terminal.Gui.Views;

// Create the application
using IApplication app = Application.Create();
app.Init();

// Main window
using Window window = new() { Title = "Task Manager (q to quit)" };

// --- Left: Task List ---
ListView taskList = new()
{
    X = 0,
    Y = Pos.Top(window),
    Width = Dim.Fill(20),  // Leaves 20 columns for the right panel
    Height = Dim.Fill(1),  // Leaves 1 row at the bottom
    AllowsMarking = false
};

// Initialize with mock data
List<TaskItem> tasks = new()
{
    new TaskItem { Name = "Deploy production service" },
    new TaskItem { Name = "Review PR #42" },
    new TaskItem { Name = "Write weekly report" },
};
taskList.SetSource(new BindingList<TaskItem>(tasks));

// --- Right: Input + Buttons ---
TextField input = new()
{
    X = Pos.Right(taskList) + 1,
    Y = 1,
    Width = Dim.Fill(2),
    Text = ""
};

Button addBtn = new()
{
    Text = "Add",
    X = Pos.Right(taskList) + 1,
    Y = 3,
    Width = 10
};

Button doneBtn = new()
{
    Text = "Mark Done",
    X = Pos.Right(taskList) + 1,
    Y = 5,
    Width = 10
};

Label statusLabel = new()
{
    Text = "Ready",
    X = Pos.Right(taskList) + 1,
    Y = Dim.Fill(2),
    Width = Dim.Fill(2)
};

// --- Event Bindings ---
addBtn.Accept += (s, e) =>
{
    if (!string.IsNullOrWhiteSpace(input.Text?.ToString()))
    {
        tasks.Add(new TaskItem { Name = input.Text?.ToString() ?? "" });
        taskList.SetSource(new BindingList<TaskItem>(tasks));
        input.Text = "";
        statusLabel.Text = $"Added {tasks.Count} items";
    }
};

doneBtn.Accept += (s, e) =>
{
    if (taskList.SelectedItem >= 0 && taskList.SelectedItem < tasks.Count)
    {
        tasks[taskList.SelectedItem].IsDone = true;
        taskList.SetSource(new BindingList<TaskItem>(tasks));
        statusLabel.Text = "Marked as complete";
    }
};

// Add components to the window
window.Add(taskList, input, addBtn, doneBtn, statusLabel);

// --- Shortcut: Press 'q' to exit ---
window.KeyPress += (s, e) =>
{
    if (e.KeyEvent.Key == (Key)113)  // 'q'
        app.RequestStop();
};

app.Run(window);
Expected Output: The left side displays the task list. The right side contains an input field and two buttons. Type text, click "Add" to append to the list, select an item, and click "Mark Done" to prepend a ✓.
3.3 Why This Approach?
ListView+BindingList: This is the recommended data source pattern in v2.BindingListprovides change notifications, andSetSourceacts as a manual refresh trigger for the UI.Dim.Fill()&Pos.Right(): Terminal.Gui uses relative positioning. You don't hardcode pixels.Dim.Fill(20)means "fill available width, leaving 20 columns on the right". It automatically adapts when the terminal window resizes.- Event-Driven: The
Acceptevent handles button clicks (both Enter and mouse clicks trigger it).KeyPresslistens for keyboard inputs—no manual event loop required. - Instance-Based Architecture: All UI elements use
usingstatements. v2's design ensures resources are properly disposed when they fall out of scope.
FAQ & Common Pitfalls
1. Garbled text or broken box-drawing characters in terminal?
Ensure your terminal supports UTF-8 and your font includes Unicode box-drawing characters. On Linux, tmux + Nerd Font is highly recommended. On Windows, use the latest Windows Terminal; avoid the legacy cmd.exe.
2. v1 code doesn't work in v2?
Terminal.Gui v2 moved Application to an instance-based model (Application.Create()). The static Application.Run() has been removed. If you're following older tutorials, always check the version compatibility.
3. The list won't refresh?
Calling SetSource() forces a UI refresh. Modifying the underlying List directly without calling SetSource won't update the view. For true MVVM-style binding, consider implementing INotifyCollectionChanged yourself.
4. Mouse clicks aren't responding?
Ensure you call app.Init() before instantiating UI components. Additionally, some Linux terminal emulators require mouse reporting to be enabled. Windows Terminal supports it out of the box.
Conclusion
We started by installing Terminal.Gui, verified the setup with a quick "Hello World", and iteratively built an interactive task manager featuring lists, input fields, buttons, and event bindings. The core workflow boils down to three steps: create a window → layout with Pos/Dim → bind events.
Next steps to explore:
- Try
TableViewfor tabular data (perfect for log viewers or monitoring dashboards). - Use
DialogandWizardfor multi-step guided workflows. - Dive into the
Configurationdocs to persist themes and keybindings.
With over 11,000 stars, comprehensive documentation, and an active community, this library is a robust choice. Next time you write a maintenance script or internal tool, consider adding a terminal UI—your users' experience will thank you.
Repository: https://github.com/tui-cs/Terminal.Gui